


Ready to install your IDENTER leak detector? Follow these easy steps to get the best results. Take a quick look at the instructions before diving in – it’s simpler than you think!
Installation Steps:
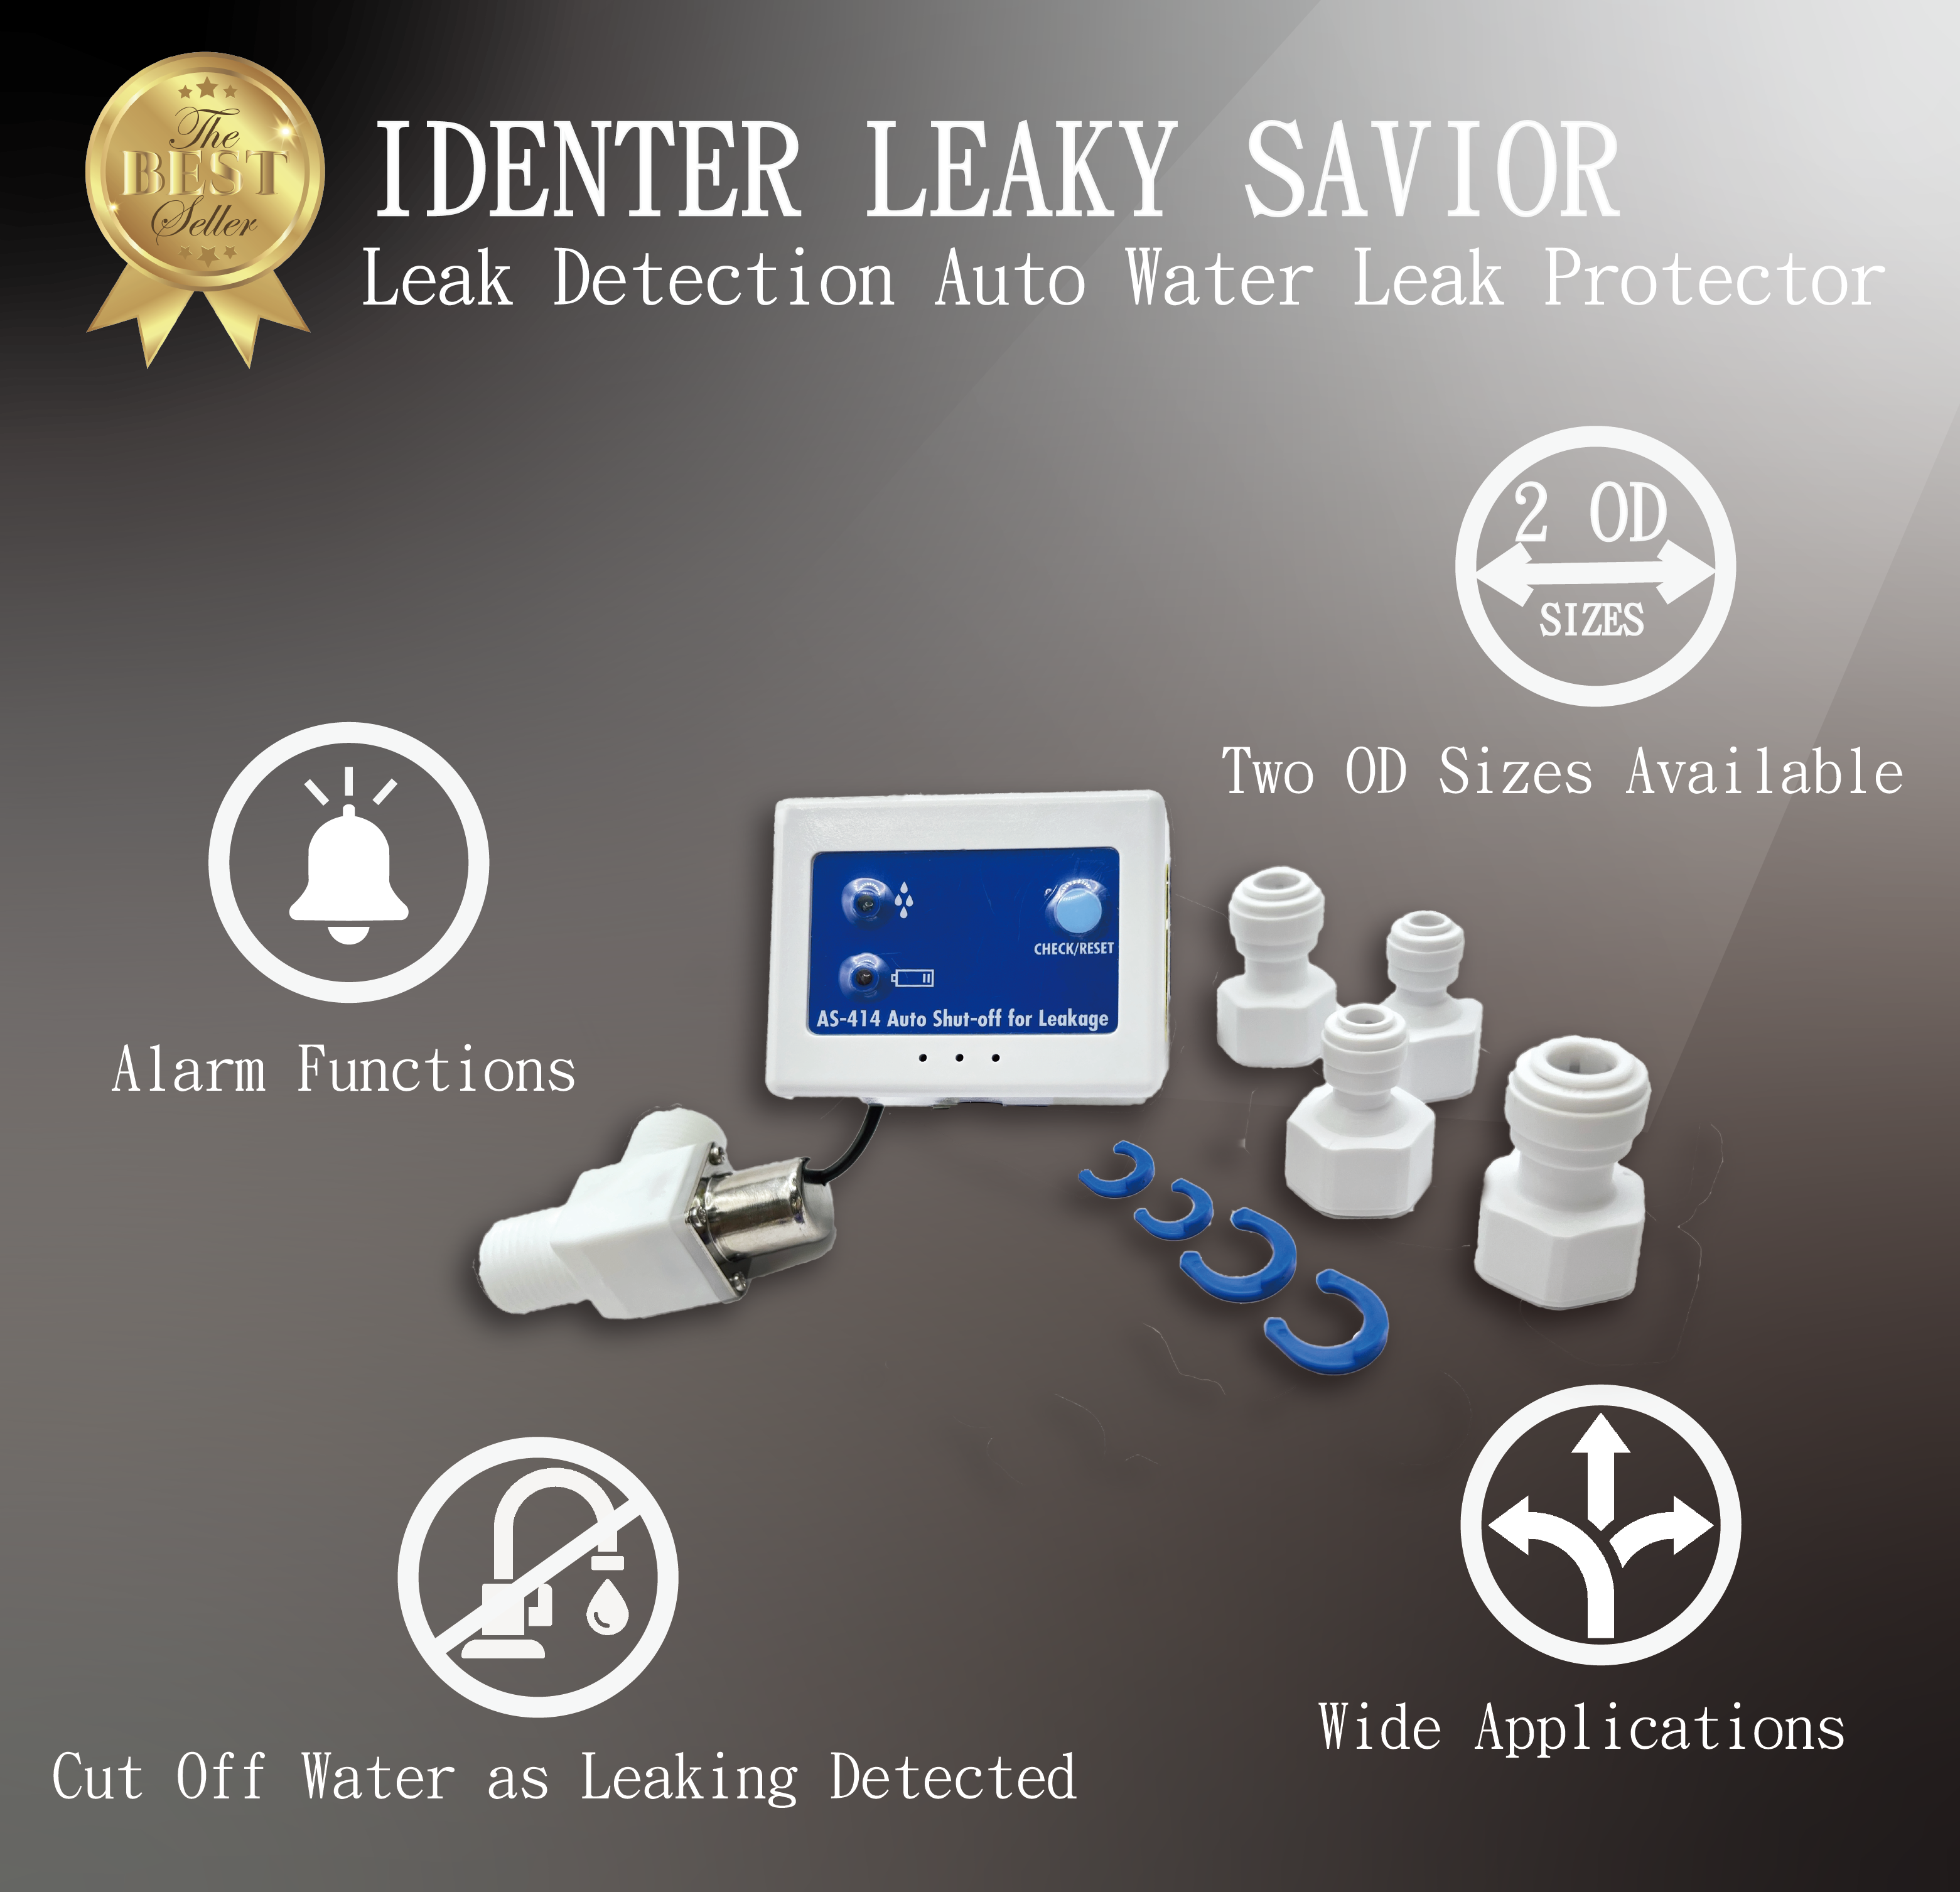
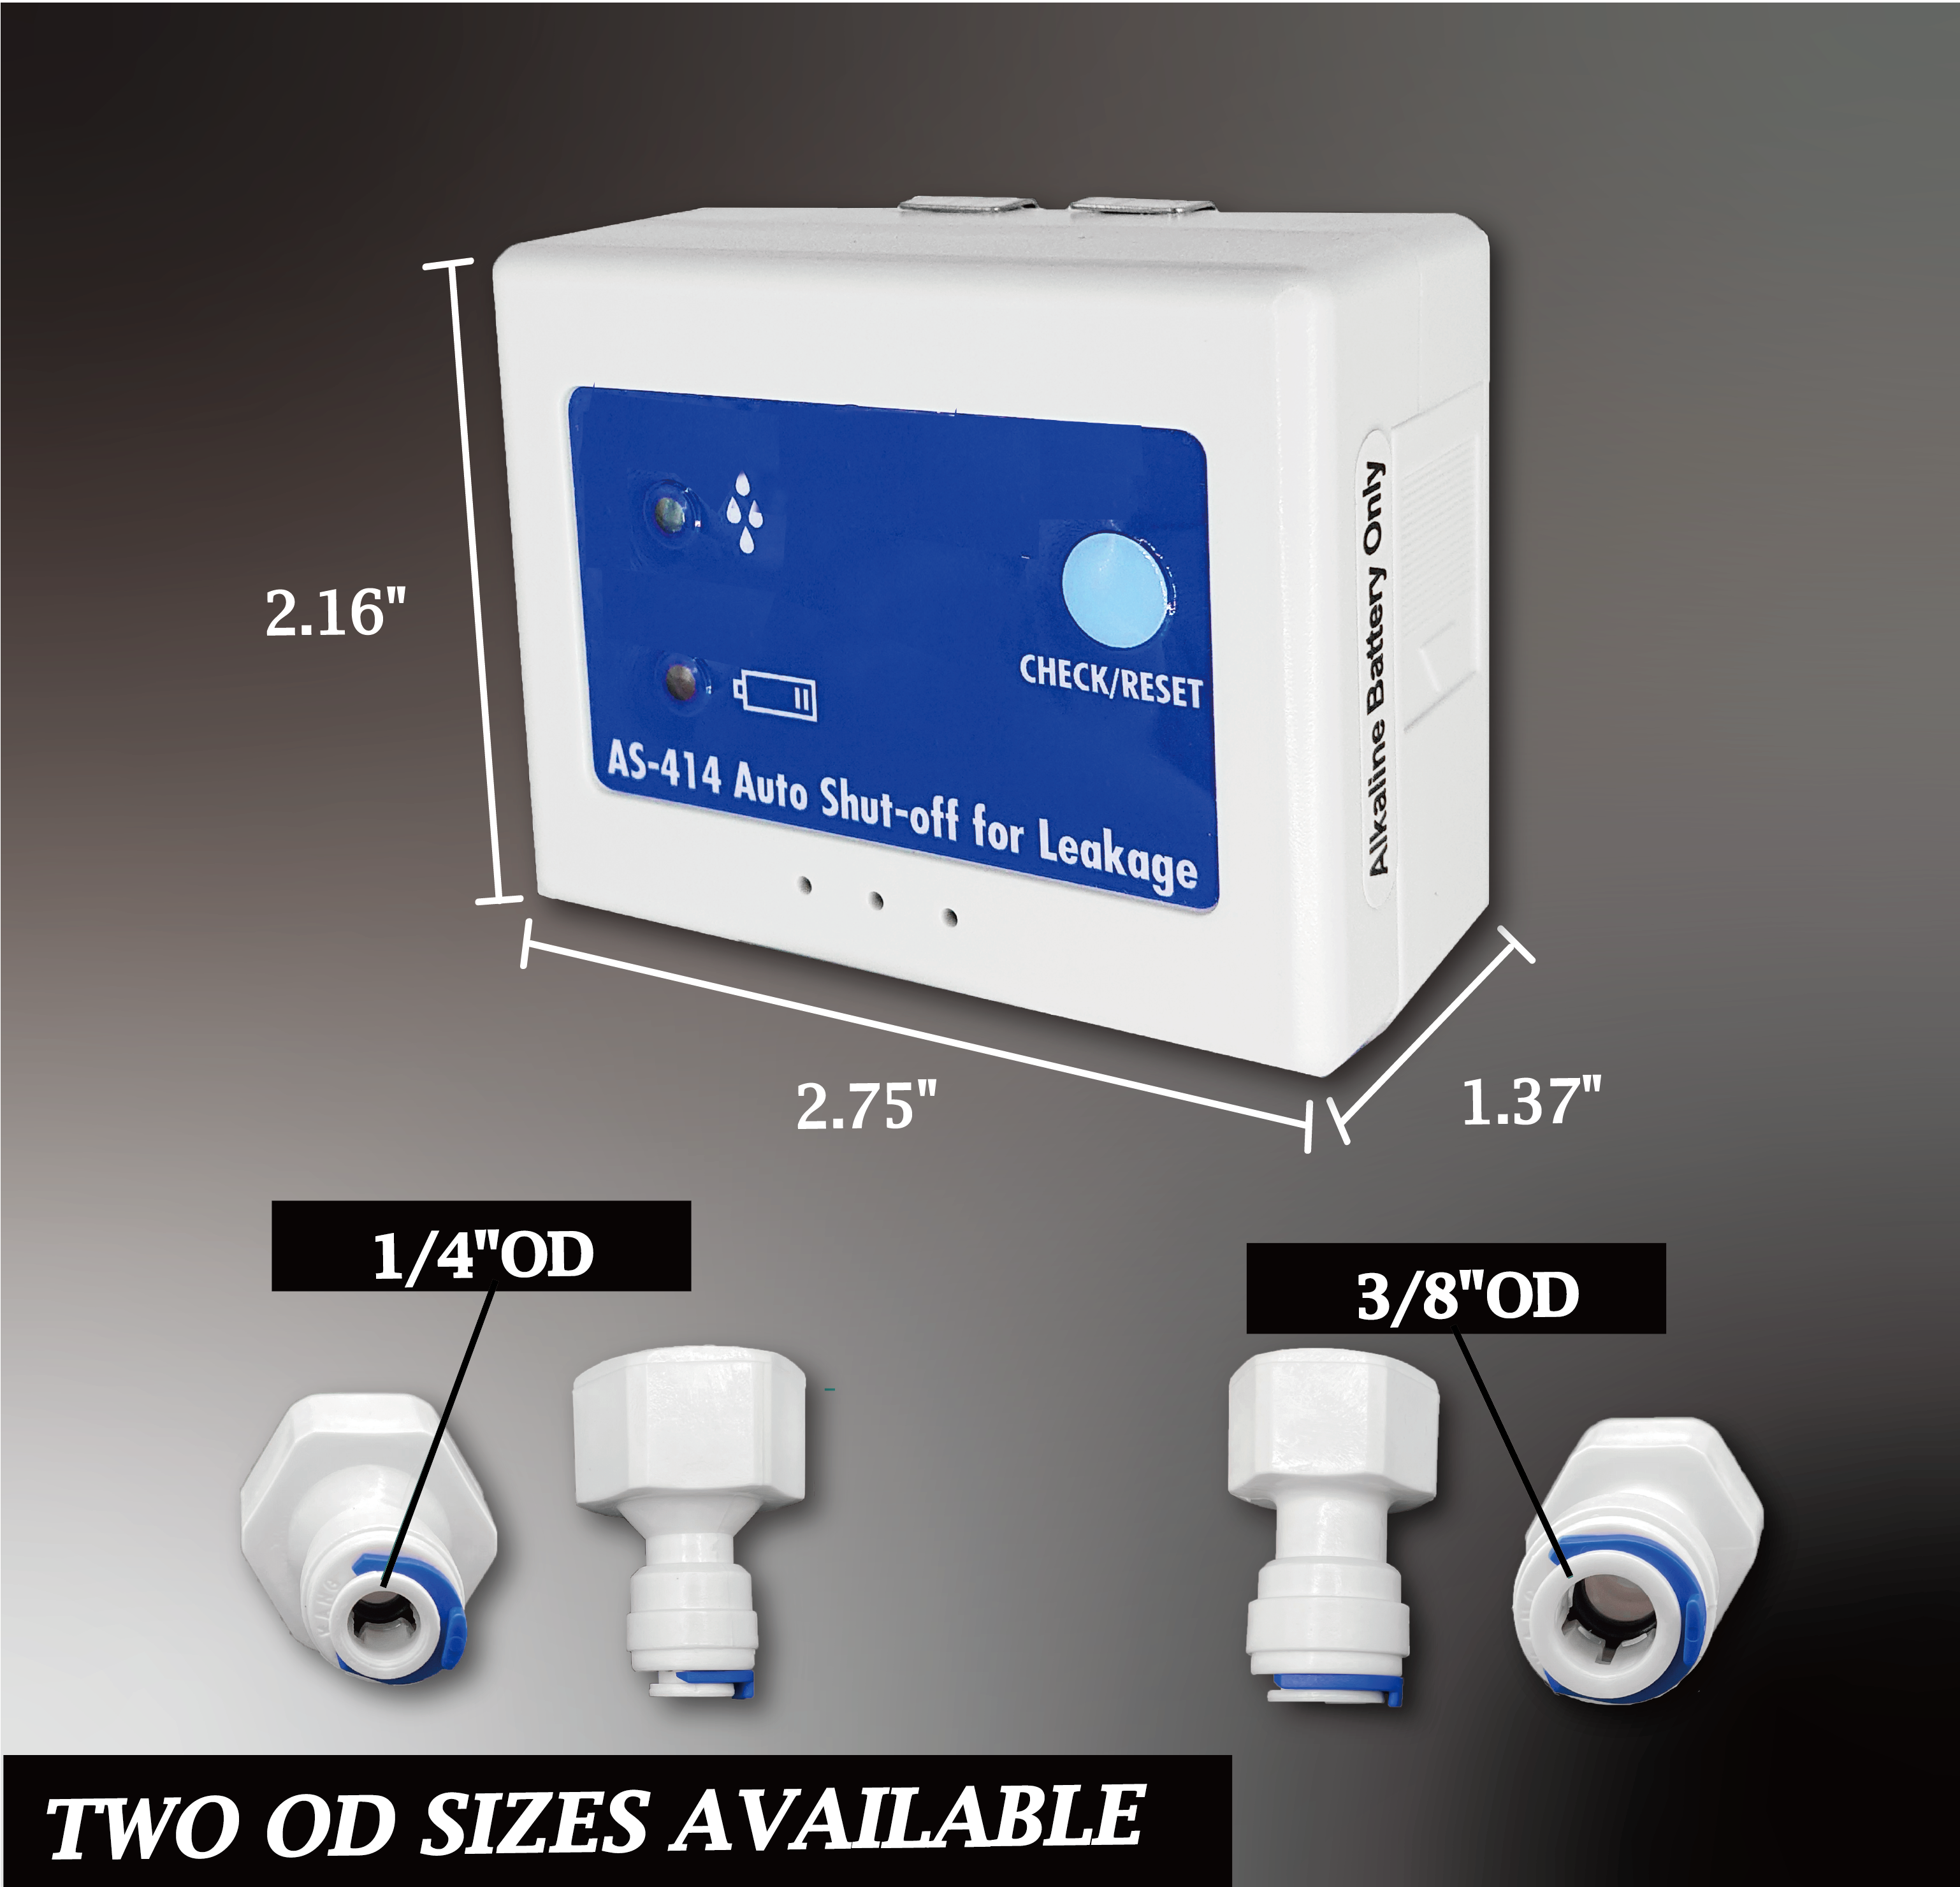
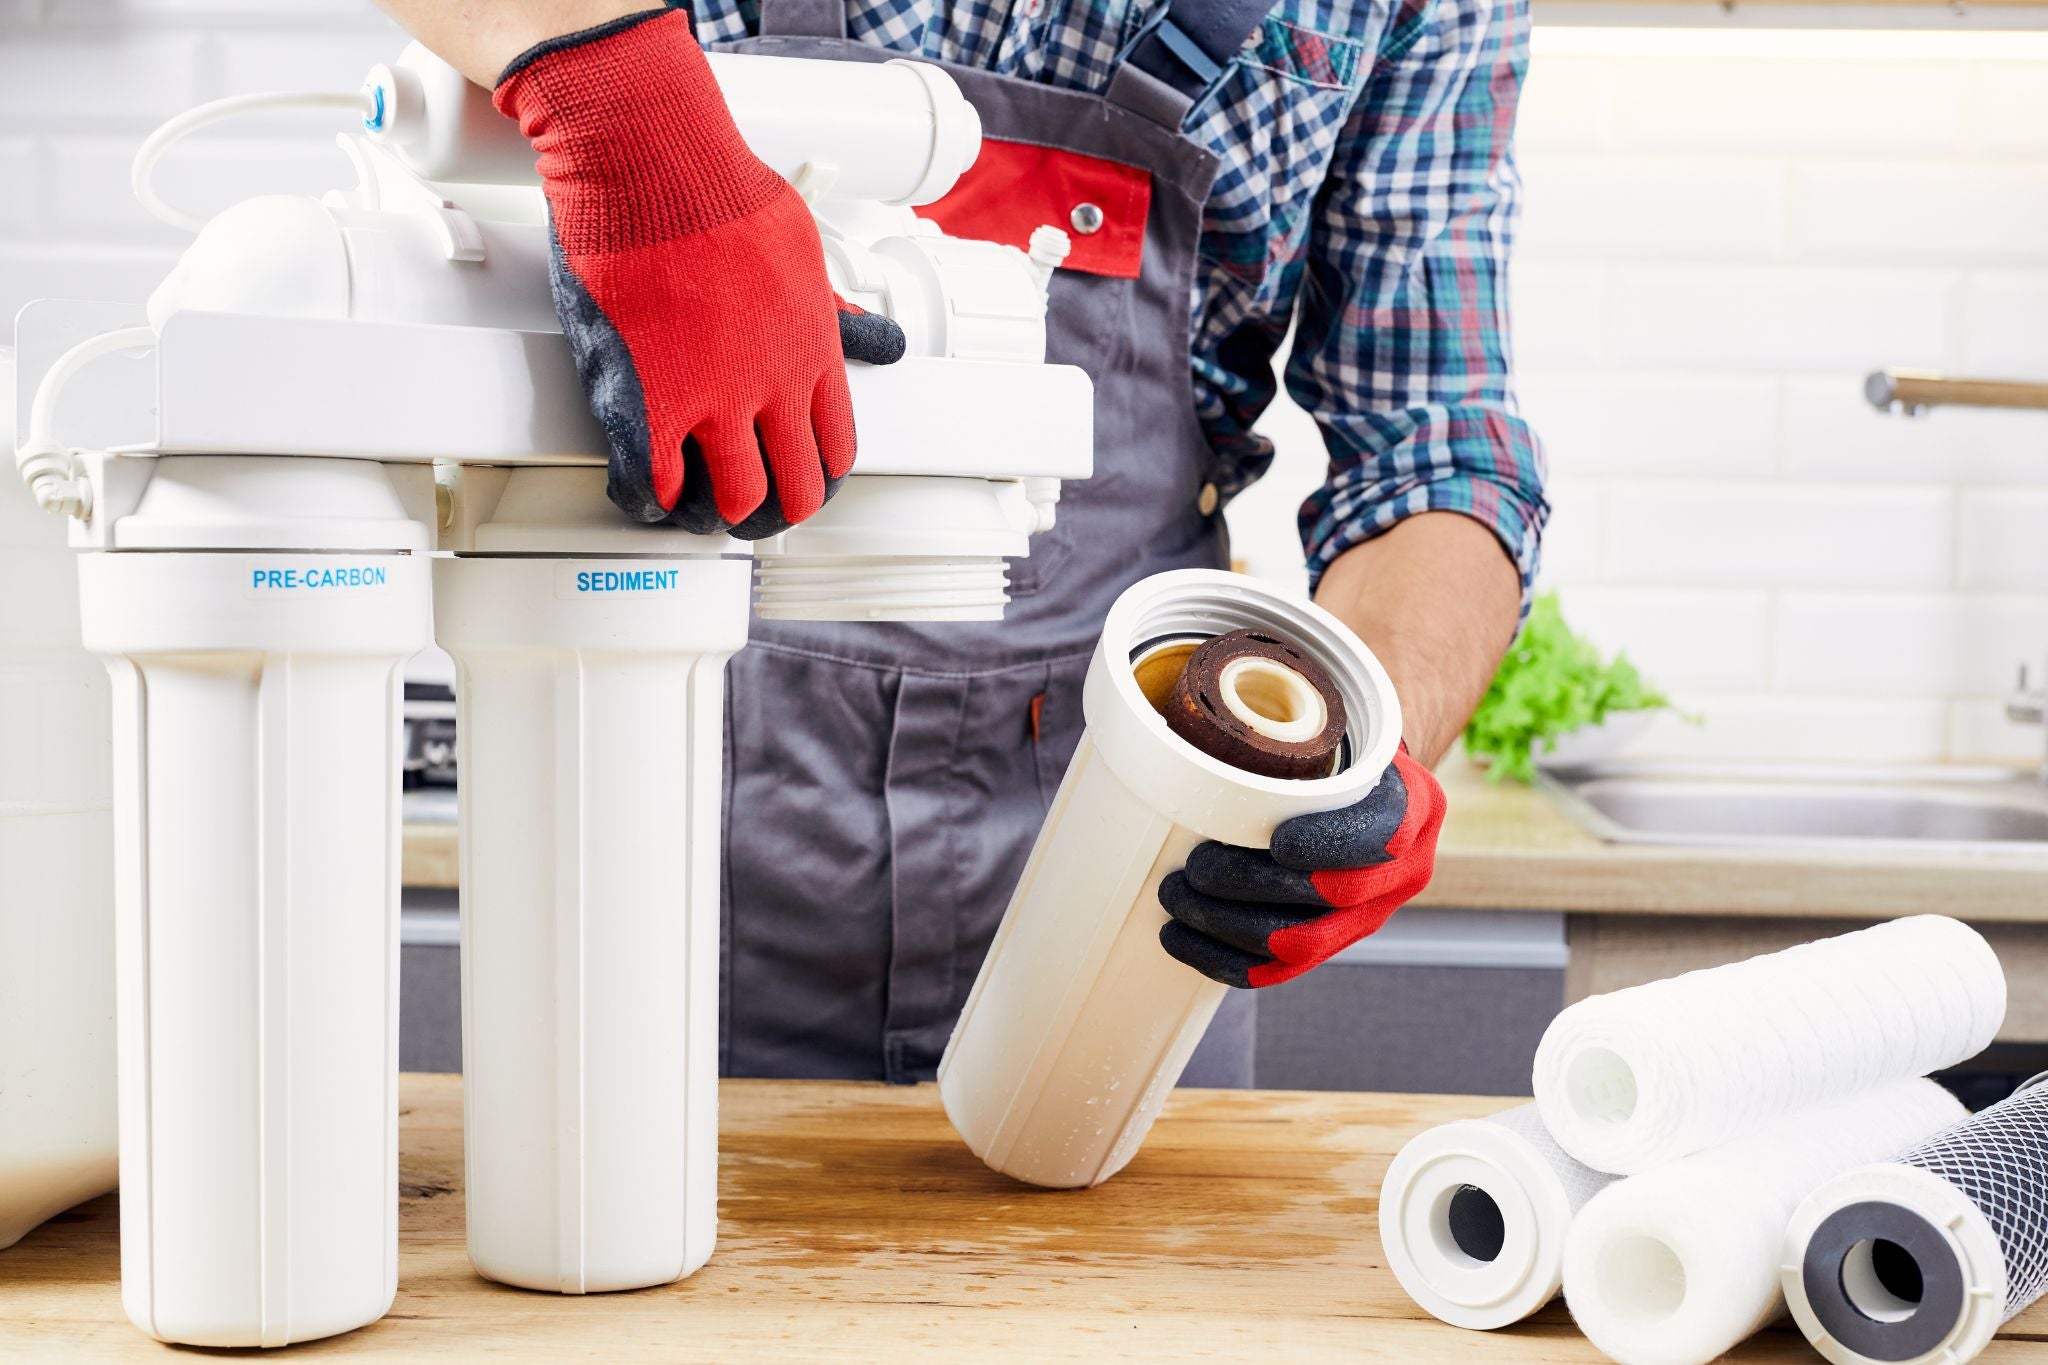
Step 1: Install the Correct Fitting
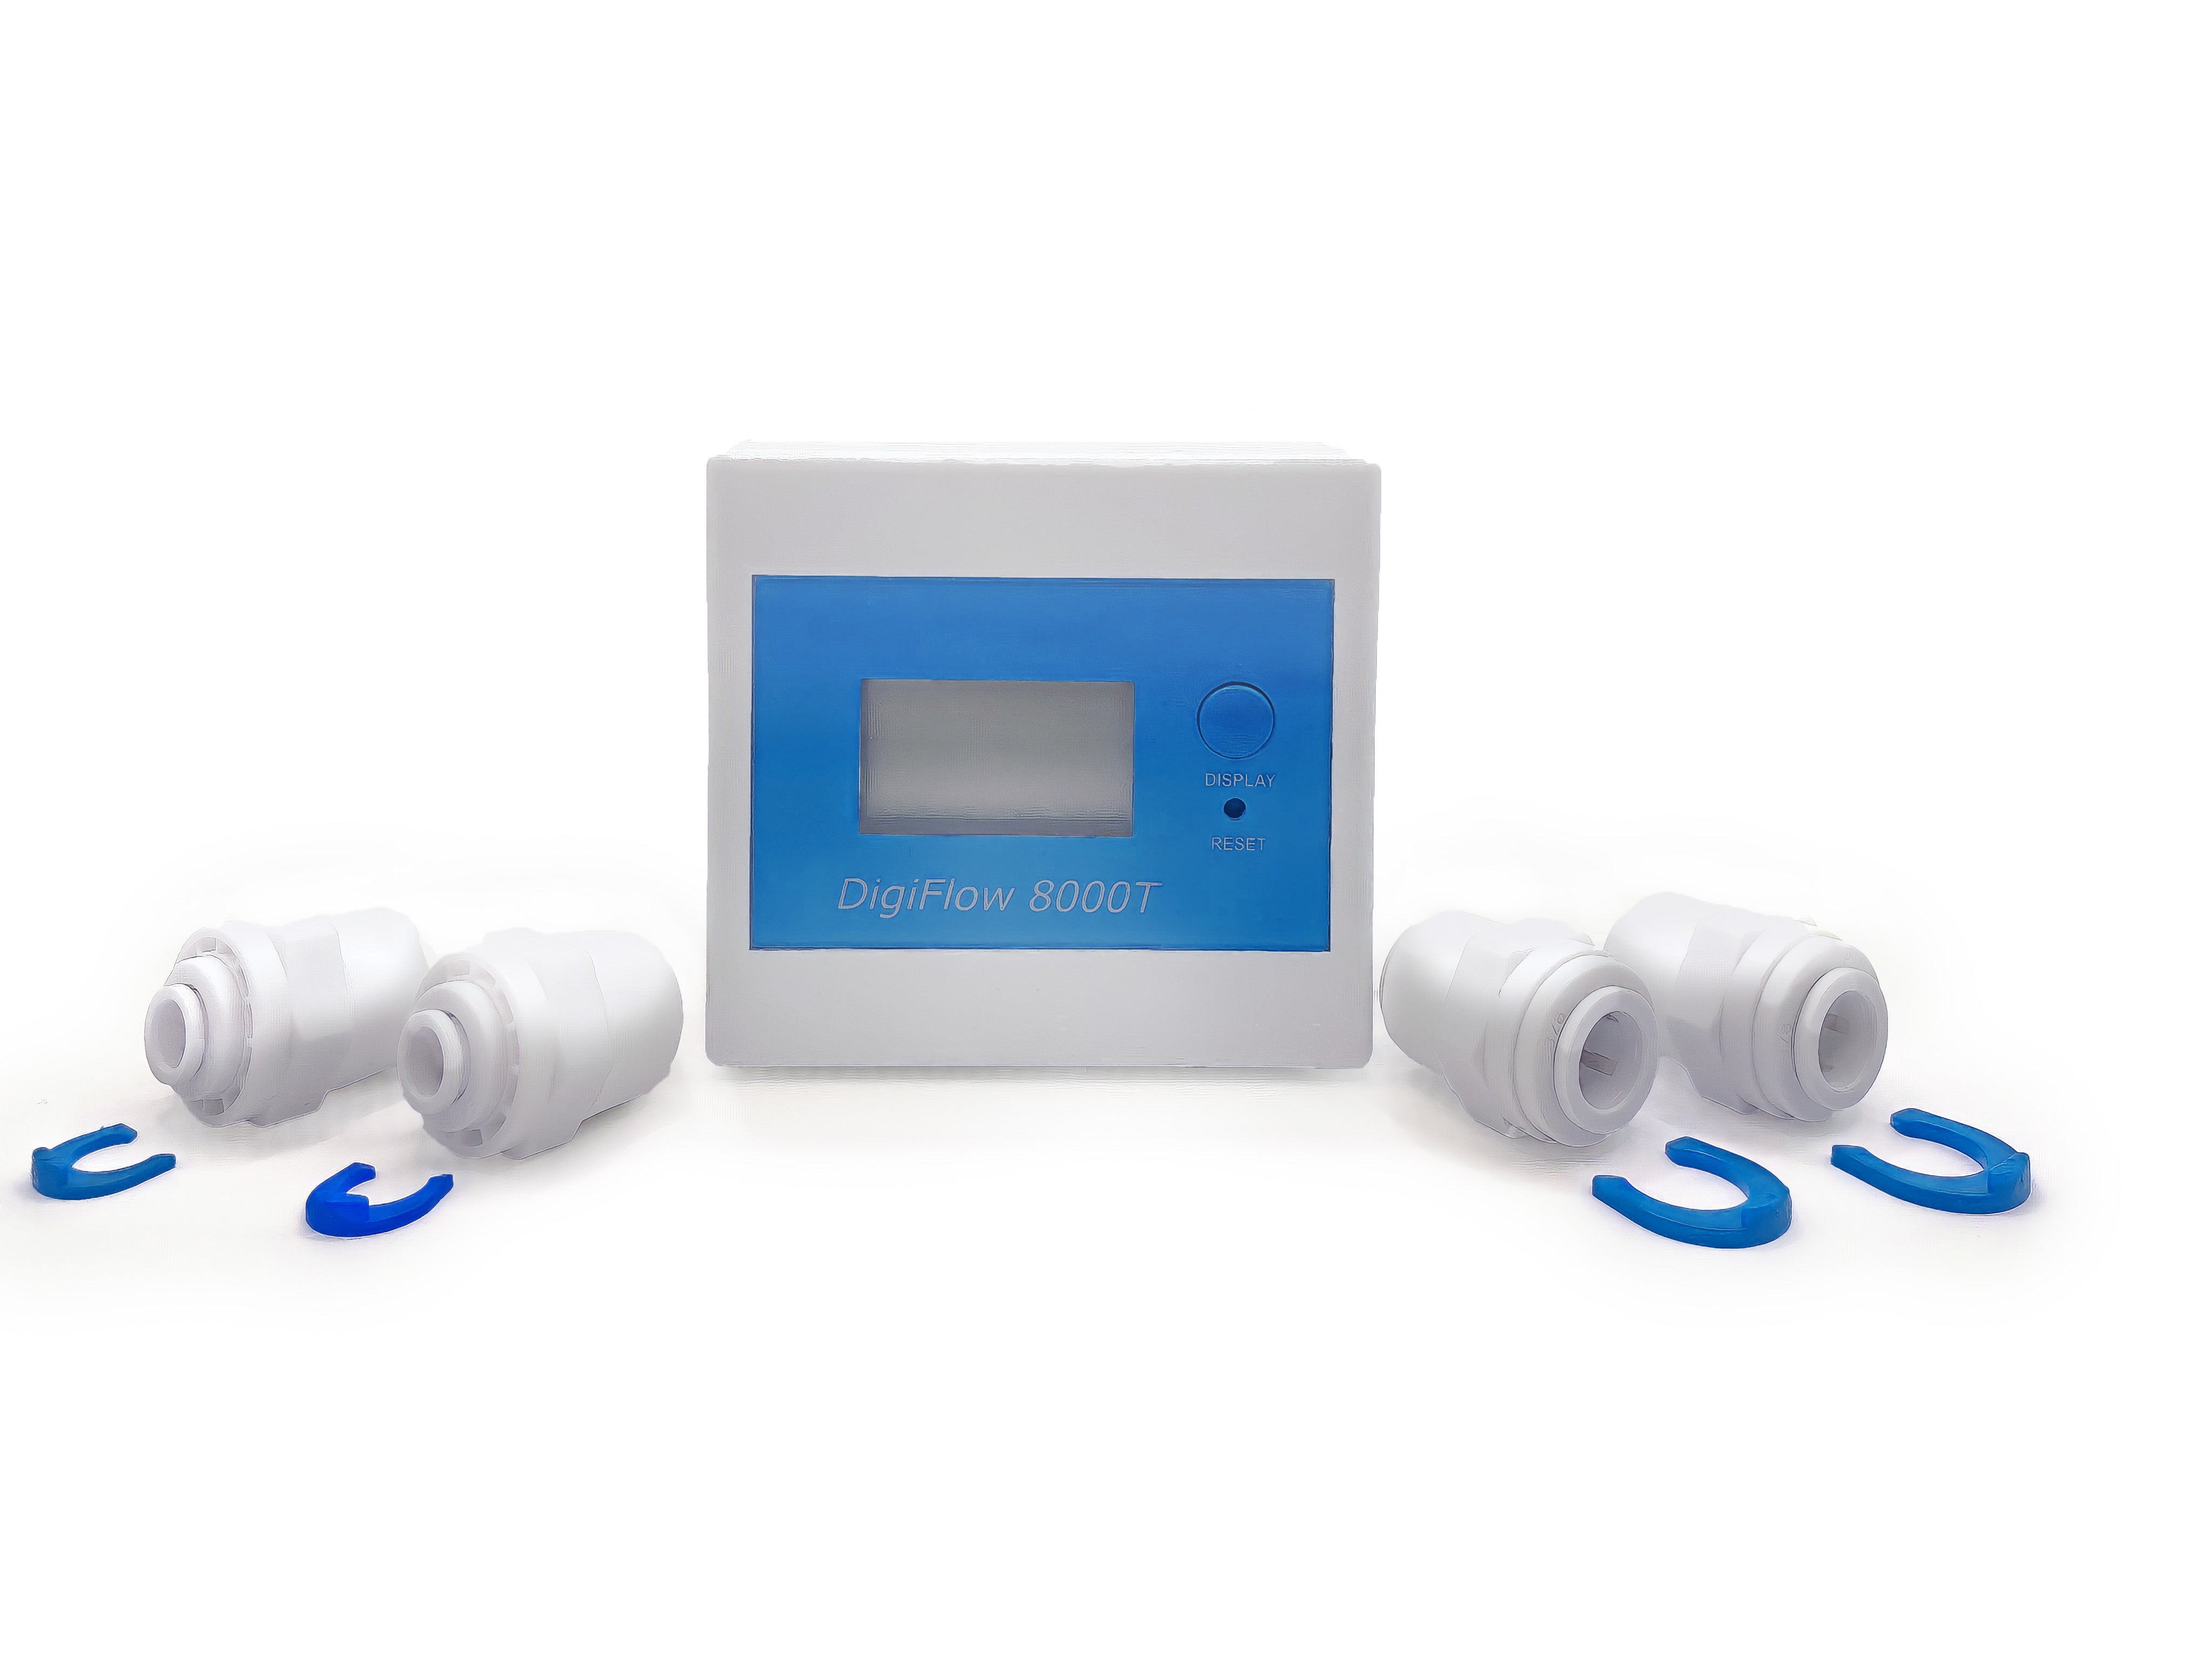
Choose the appropriate quick fitting based on your water line size: either the 1/4" OD to 1/2" BSP or the 3/8" OD to 1/2" BSP. Attach the fitting securely to the leak detector to ensure a proper seal.
Step 2: Insert the Battery
Open the battery compartment and insert the 9V alkaline battery included in the package. Make sure the battery is properly installed to power the device.
Step 3: Shut Off the Main Water Supply
Turn off the main water supply to your house to avoid any accidental leaks during the installation process.
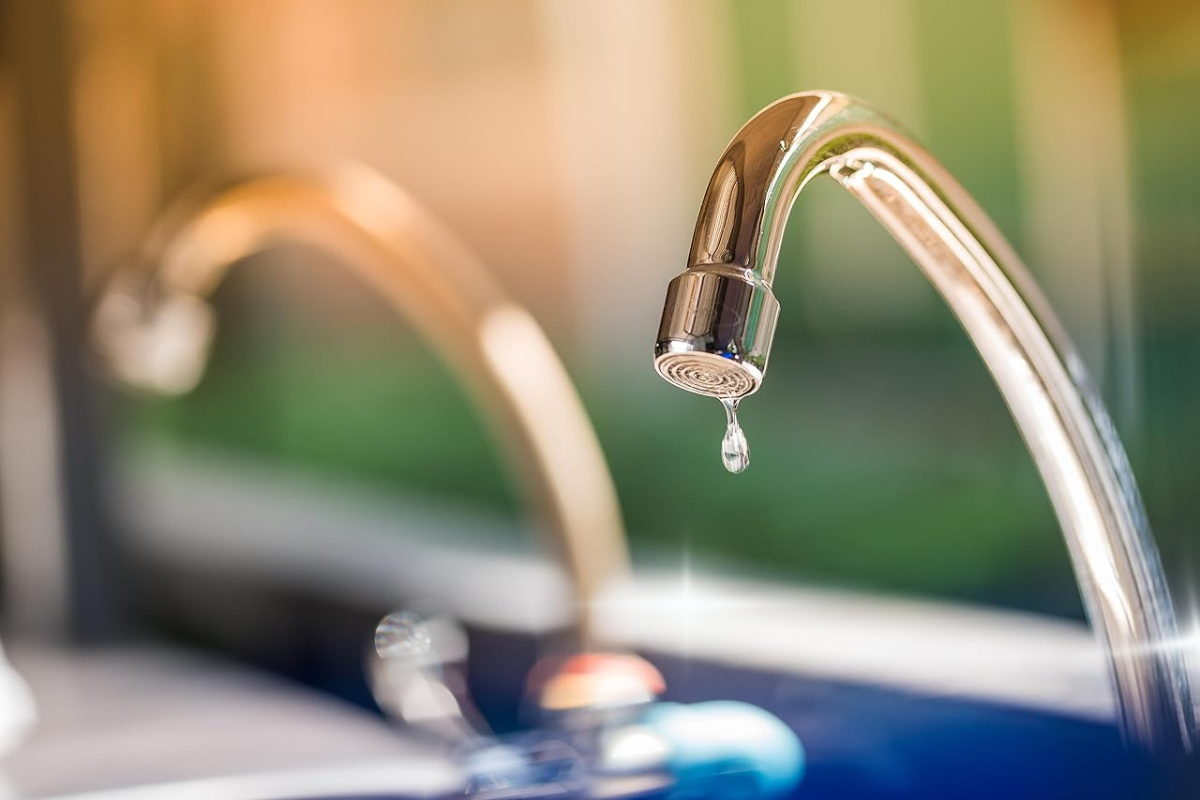
Step 4: Drain the Water from Your Faucets
Open all nearby faucets to allow any remaining water in the pipes to drain completely. This will make it easier to cut the water line without water spilling out.
Step 5: Cut the Water Line
Carefully cut the water pipe where you plan to install the leak detector. Ensure the pipe is dry and free of water before proceeding.
Step 6: Connect the Pipes to the Leak Detector
The elbow valve on the leak detector has an engraved arrow to guide the installation. Connect the pipes according to the arrow’s direction: the tip of the arrow indicates the water outlet, while the tail shows the inlet. Be sure to follow this orientation to ensure proper water flow and functionality.
Step 7: Position the Leak Detection Plates
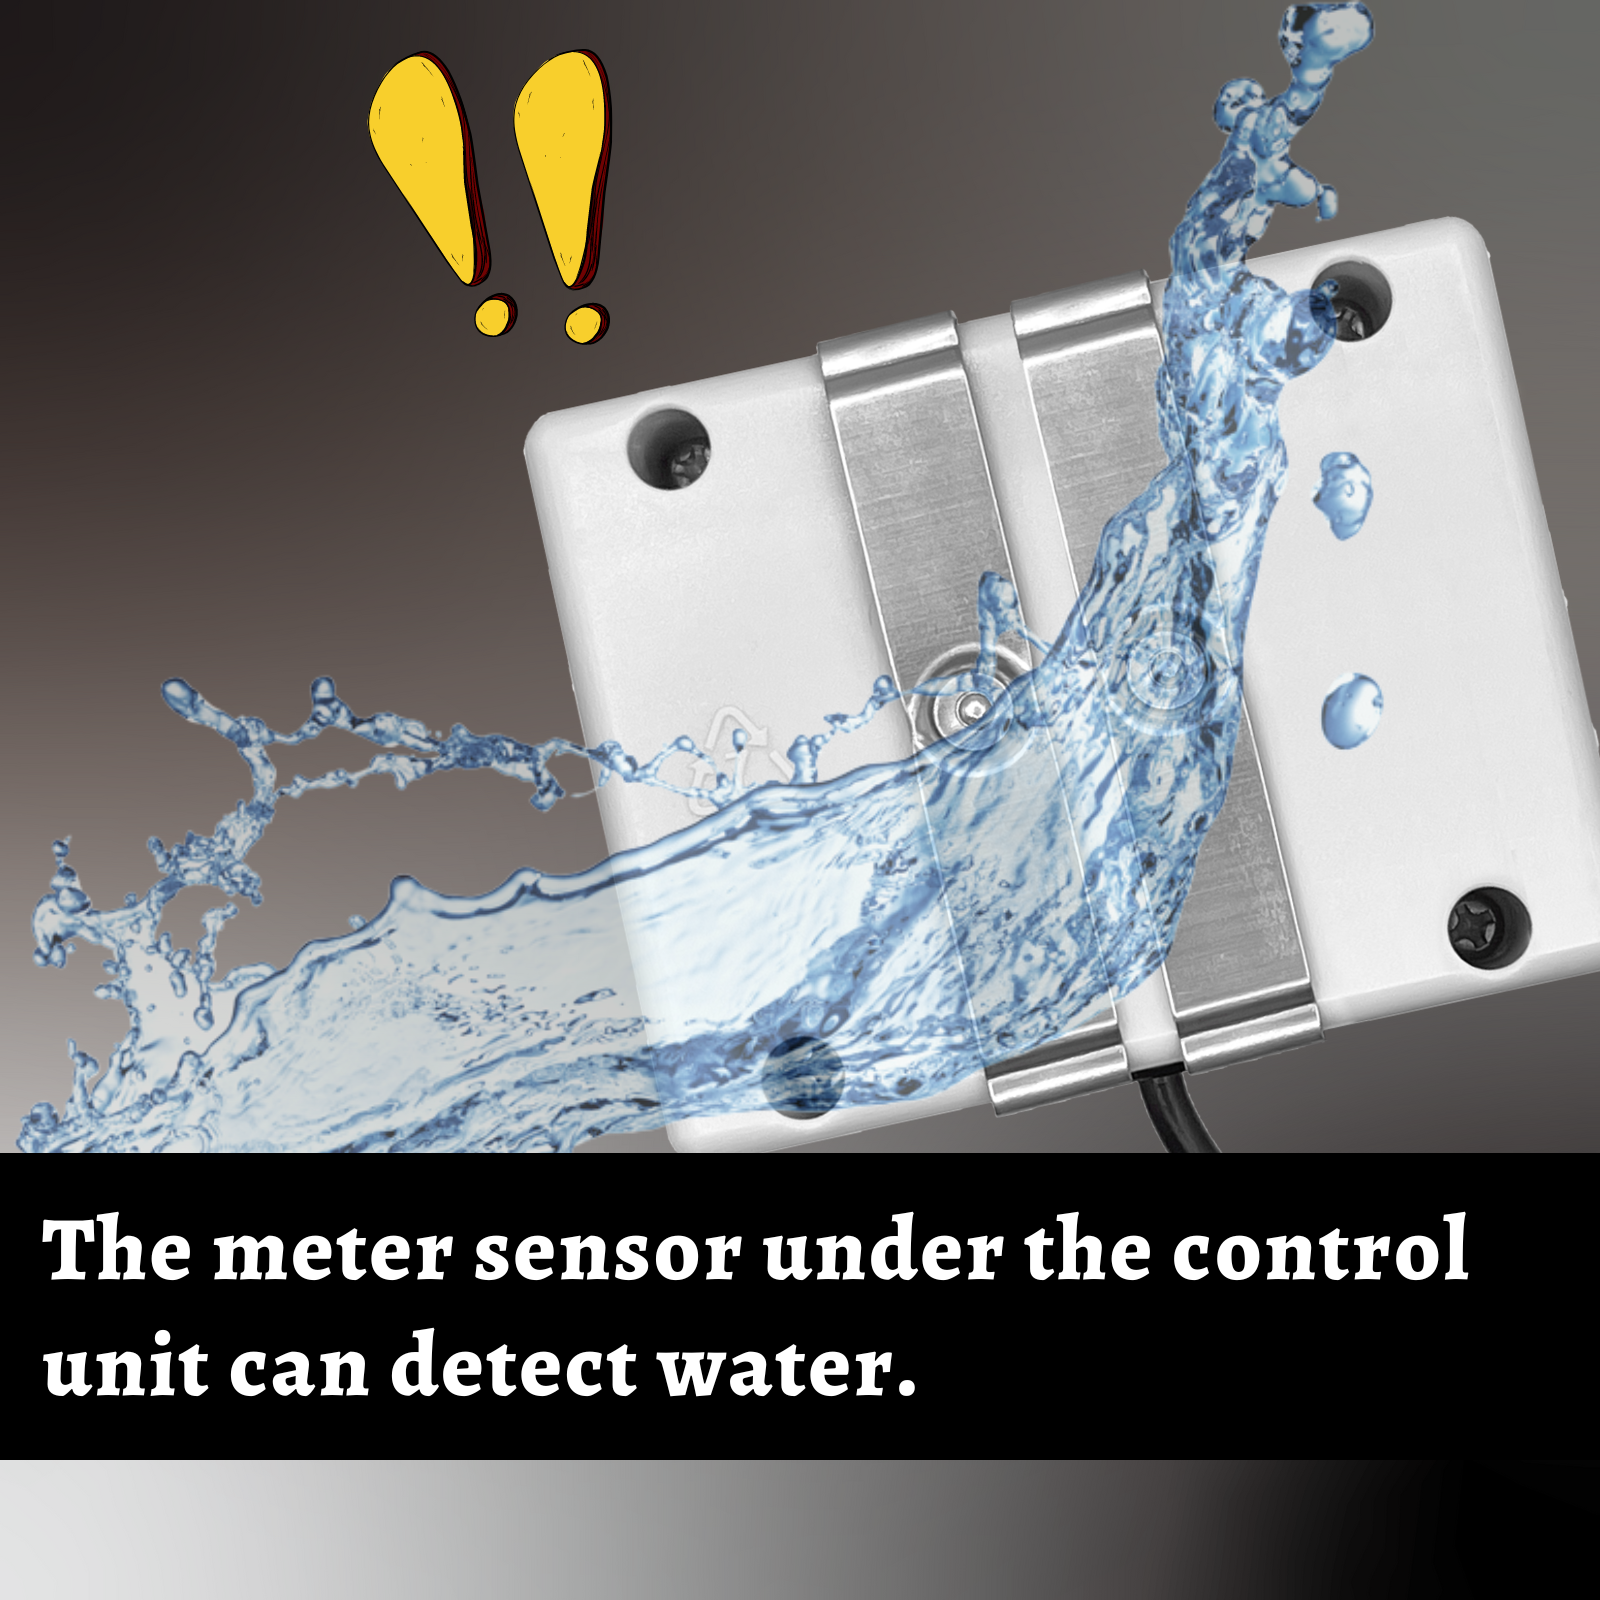
Place the metal leak detection plates on the floor near a potential leak source, such as near a water filter or under a sink. Make sure the plates are flat on the ground to accurately detect any water leakage.

Step 8: Activate the Leak Detector
Press and hold the activation button for four seconds to power on the device. The leak detector will now be actively monitoring for any water leaks.
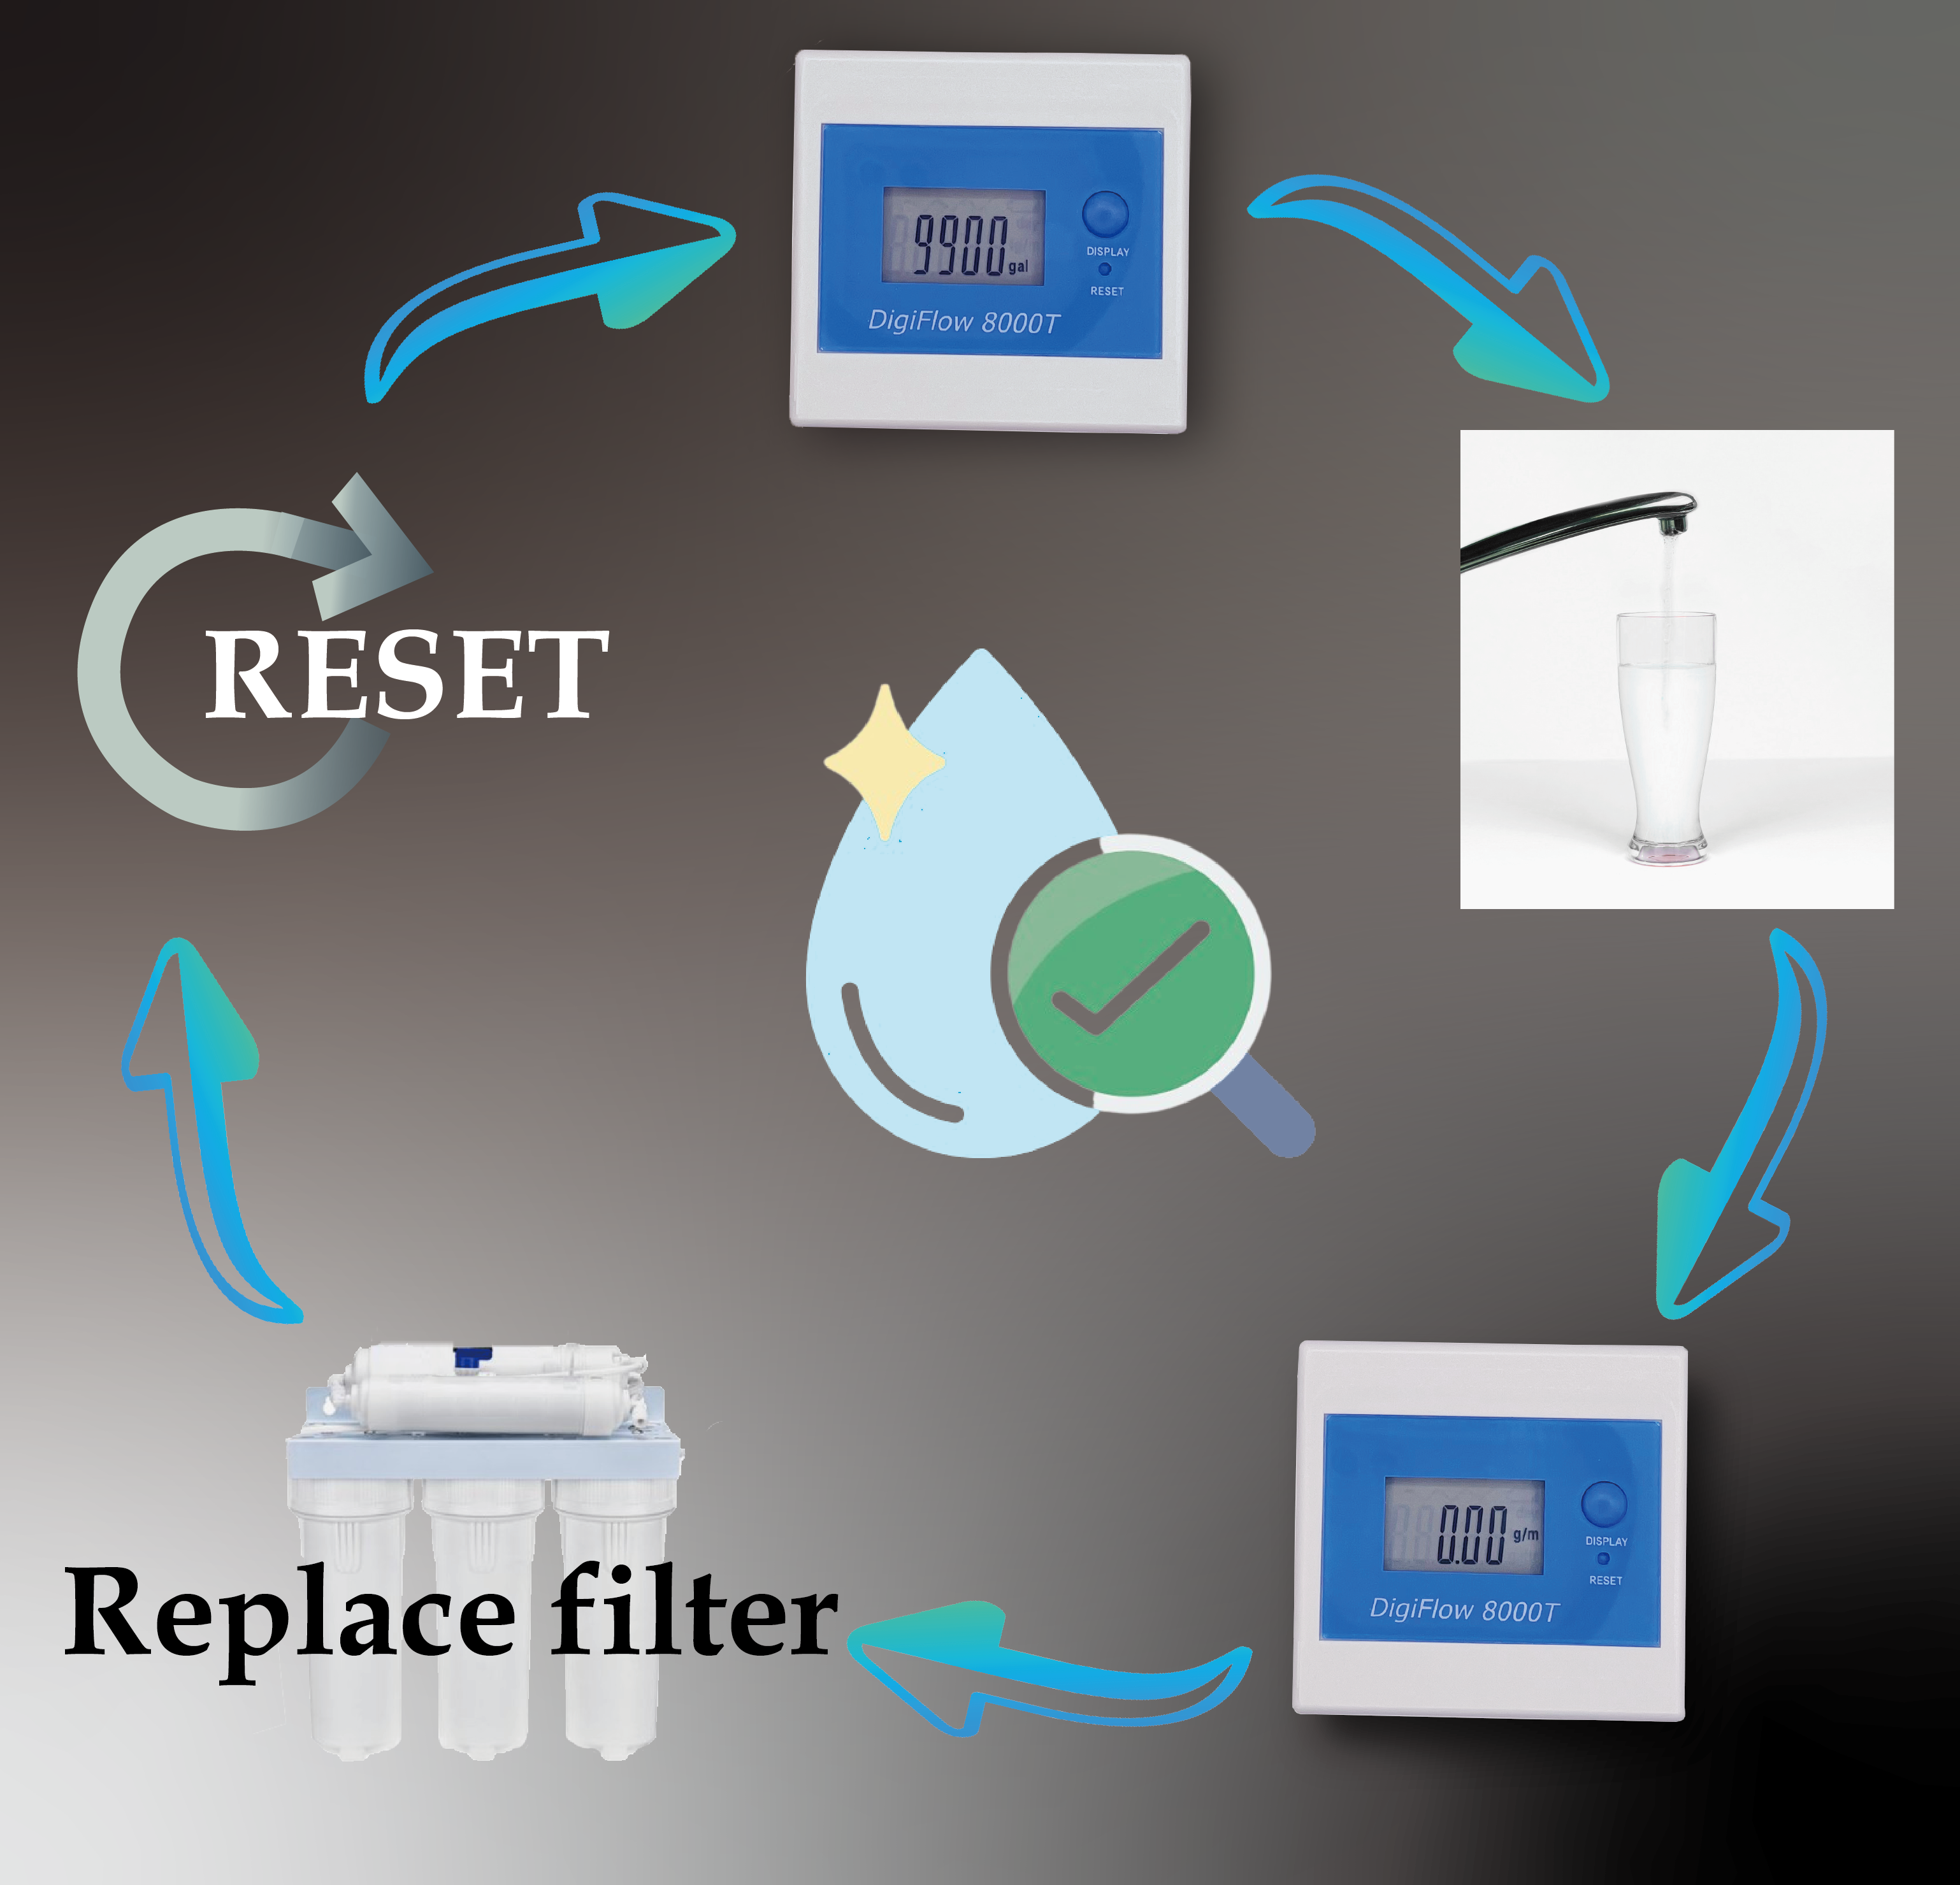
How the Leak Detector Works:
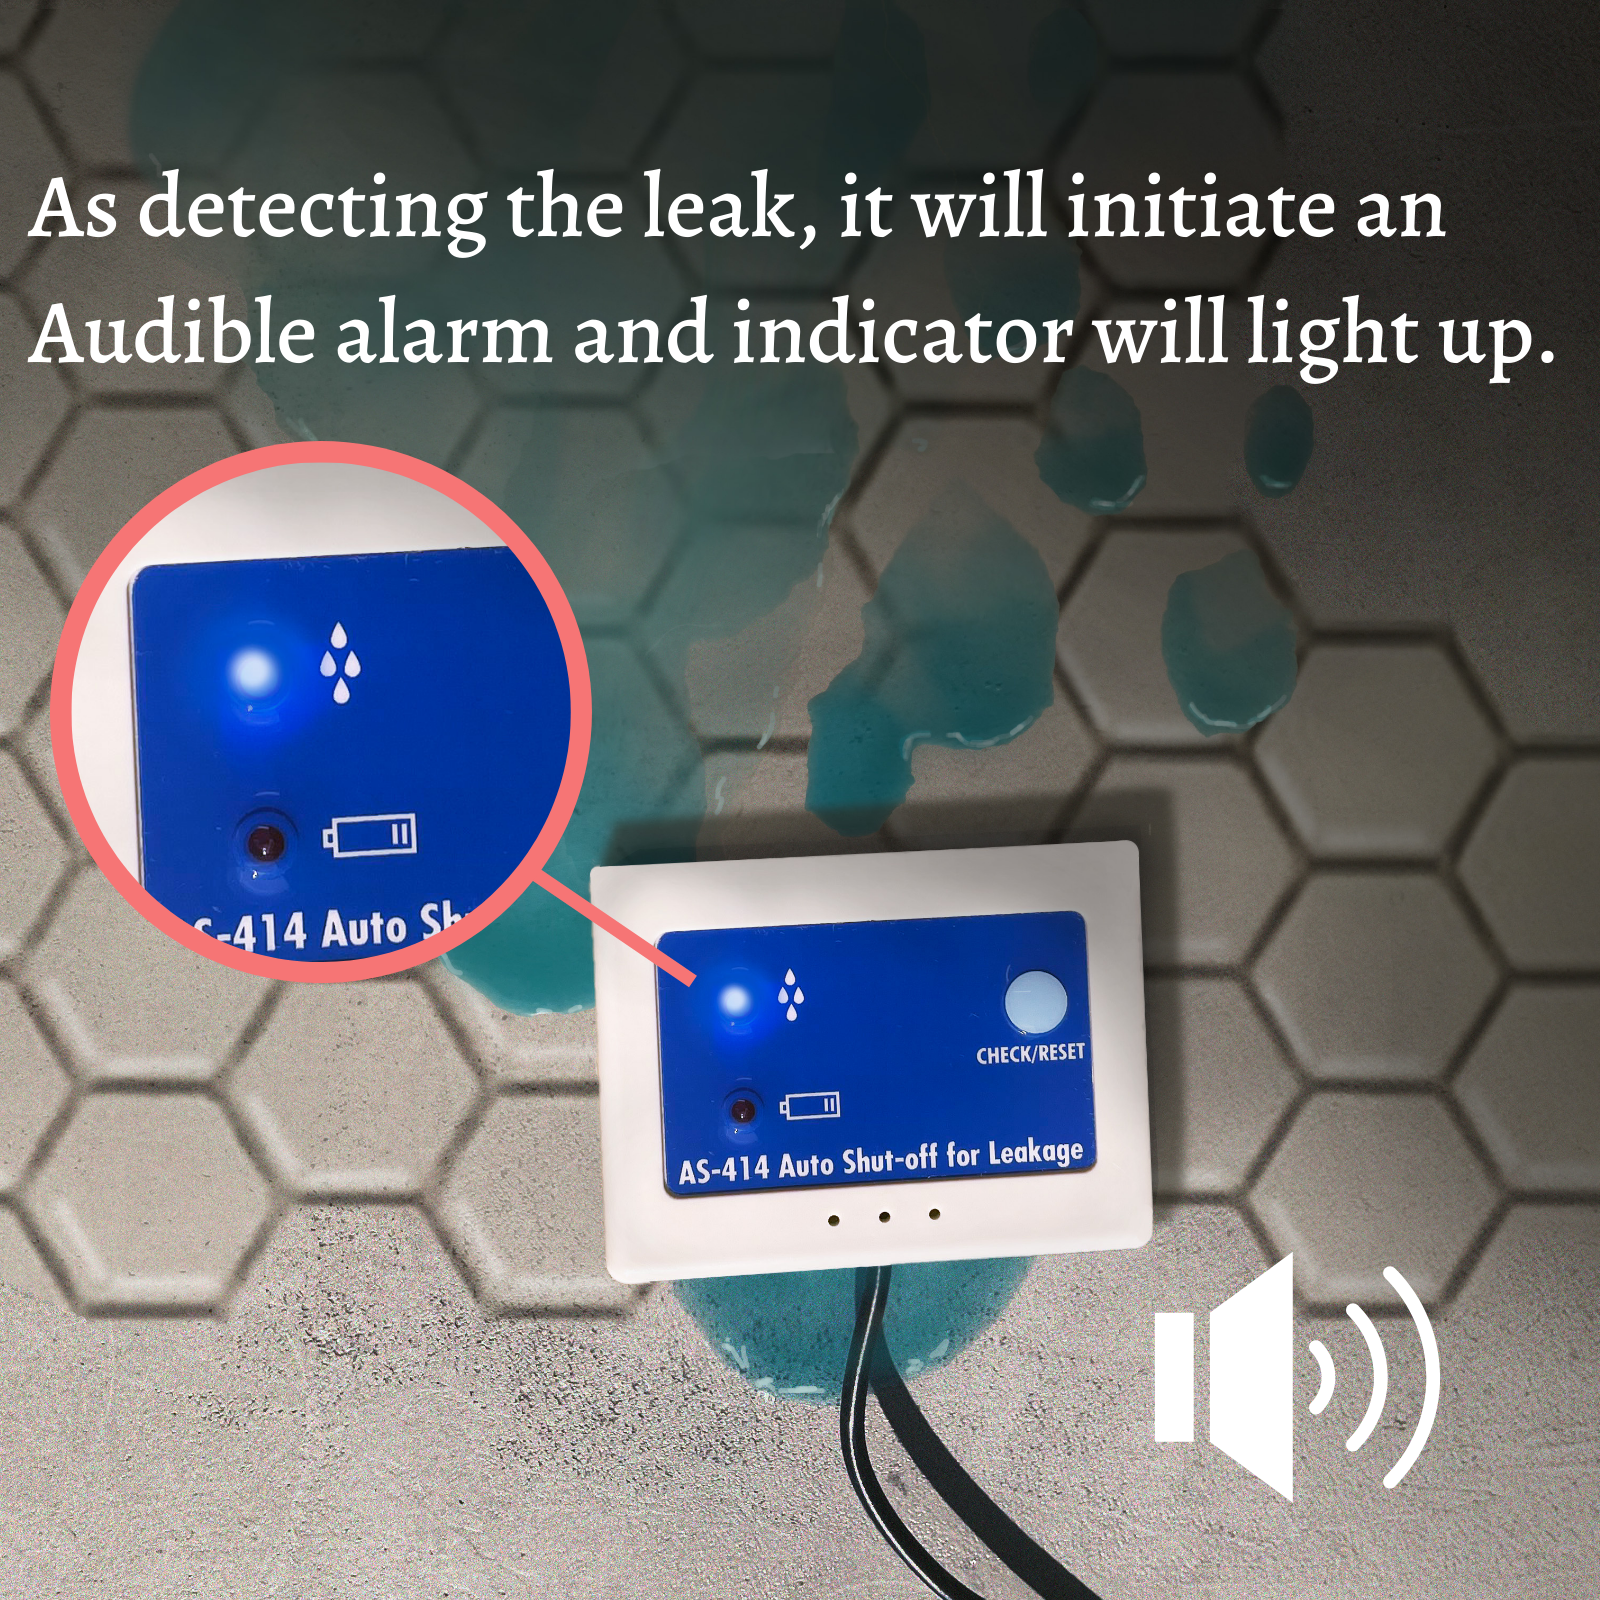
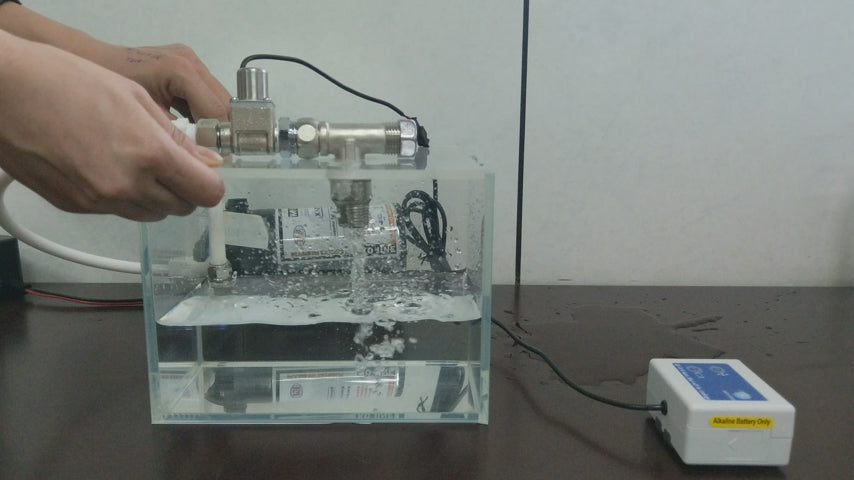
Once activated, the leak detector continuously monitors for any signs of water. If it detects water, the following actions will occur:
- Immediate Response: The leak detector will emit a flashing light and an audible alarm to alert you to the presence of water.
- Automatic Water Shut-Off: Simultaneously, the device will trigger the solenoid valve to close, stopping the flow of water to prevent further leakage.
For a more detailed walkthrough of how the device operates and to see it in action, please refer to our instructional video linked below.
Caution:
-
Regular Maintenance: The solenoid valve may become stuck due to impurities in the water, so it's important to regularly check and clean the valve to ensure it functions properly. If you notice any reduced performance, this could be the cause.
-
Distance from Heat Sources: Install the solenoid valve at least 12 inches away from any water heater or other heat sources to avoid damage or malfunction.
-
Proper Placement of Detection Plates: Ensure the two metal plates on the back of the leak detector are in direct contact with the ground. This is critical for accurate leak detection.
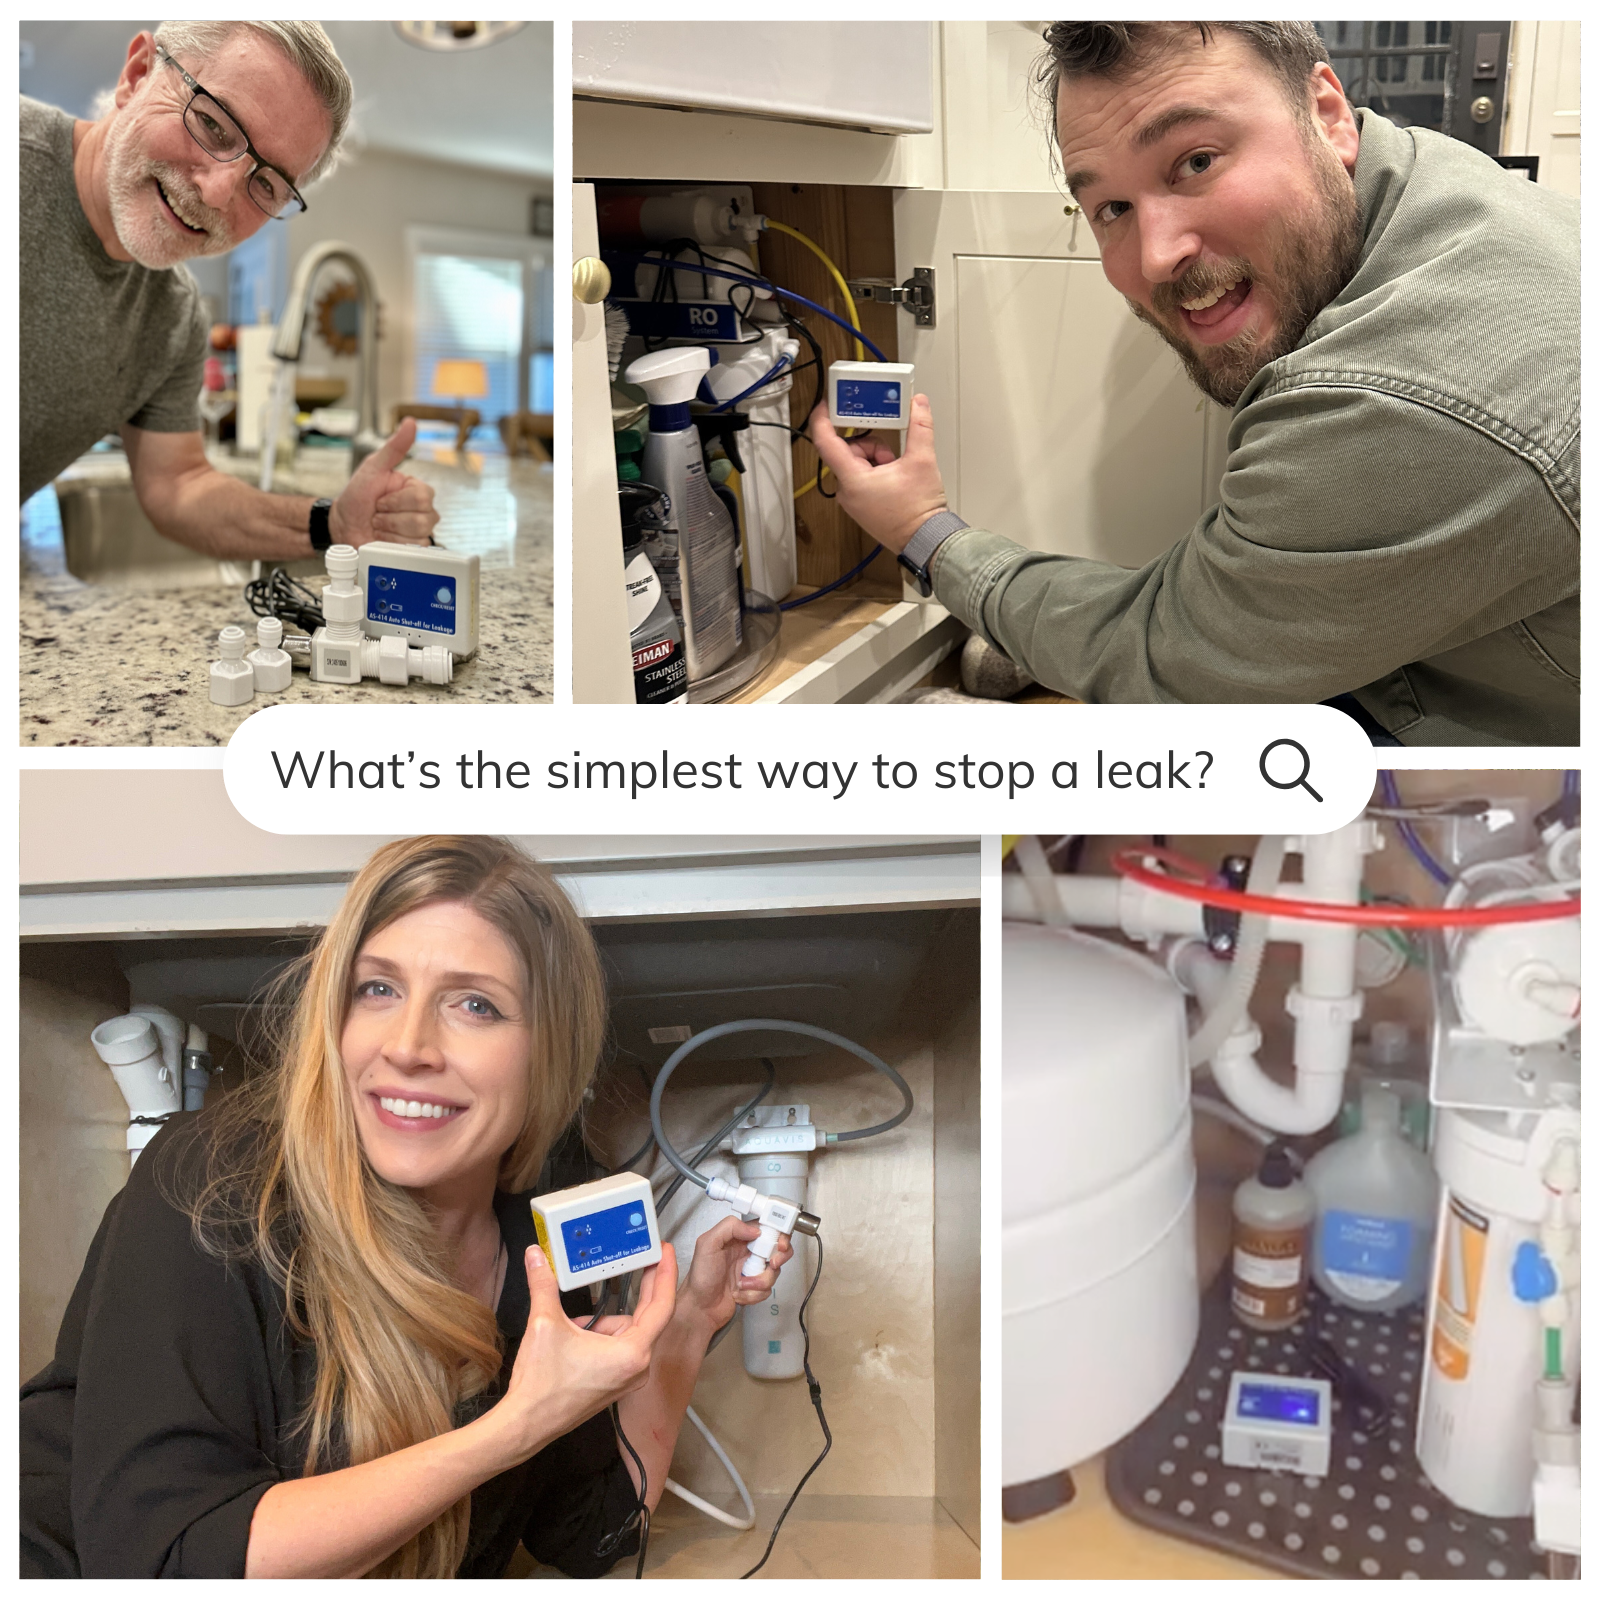
By following these simple steps and keeping a few precautions in mind, your IDENTER leak detector will be your home's trusty guardian against water damage! It’ll automatically shut off the water supply the moment it senses a leak, giving you peace of mind.
Ready to protect your home? Explore the features of our IDENTER leak detector and see how it can make your life easier by clicking the link. You’ll be one step closer to a safer, drier home!
If you ever have questions or need a bit of extra help, don’t hesitate to check out the user manual or reach out to our friendly customer support team.

Share:
3 Things You Didn't Know—One Small Action Can Save a Lot of Unnecessary Waste
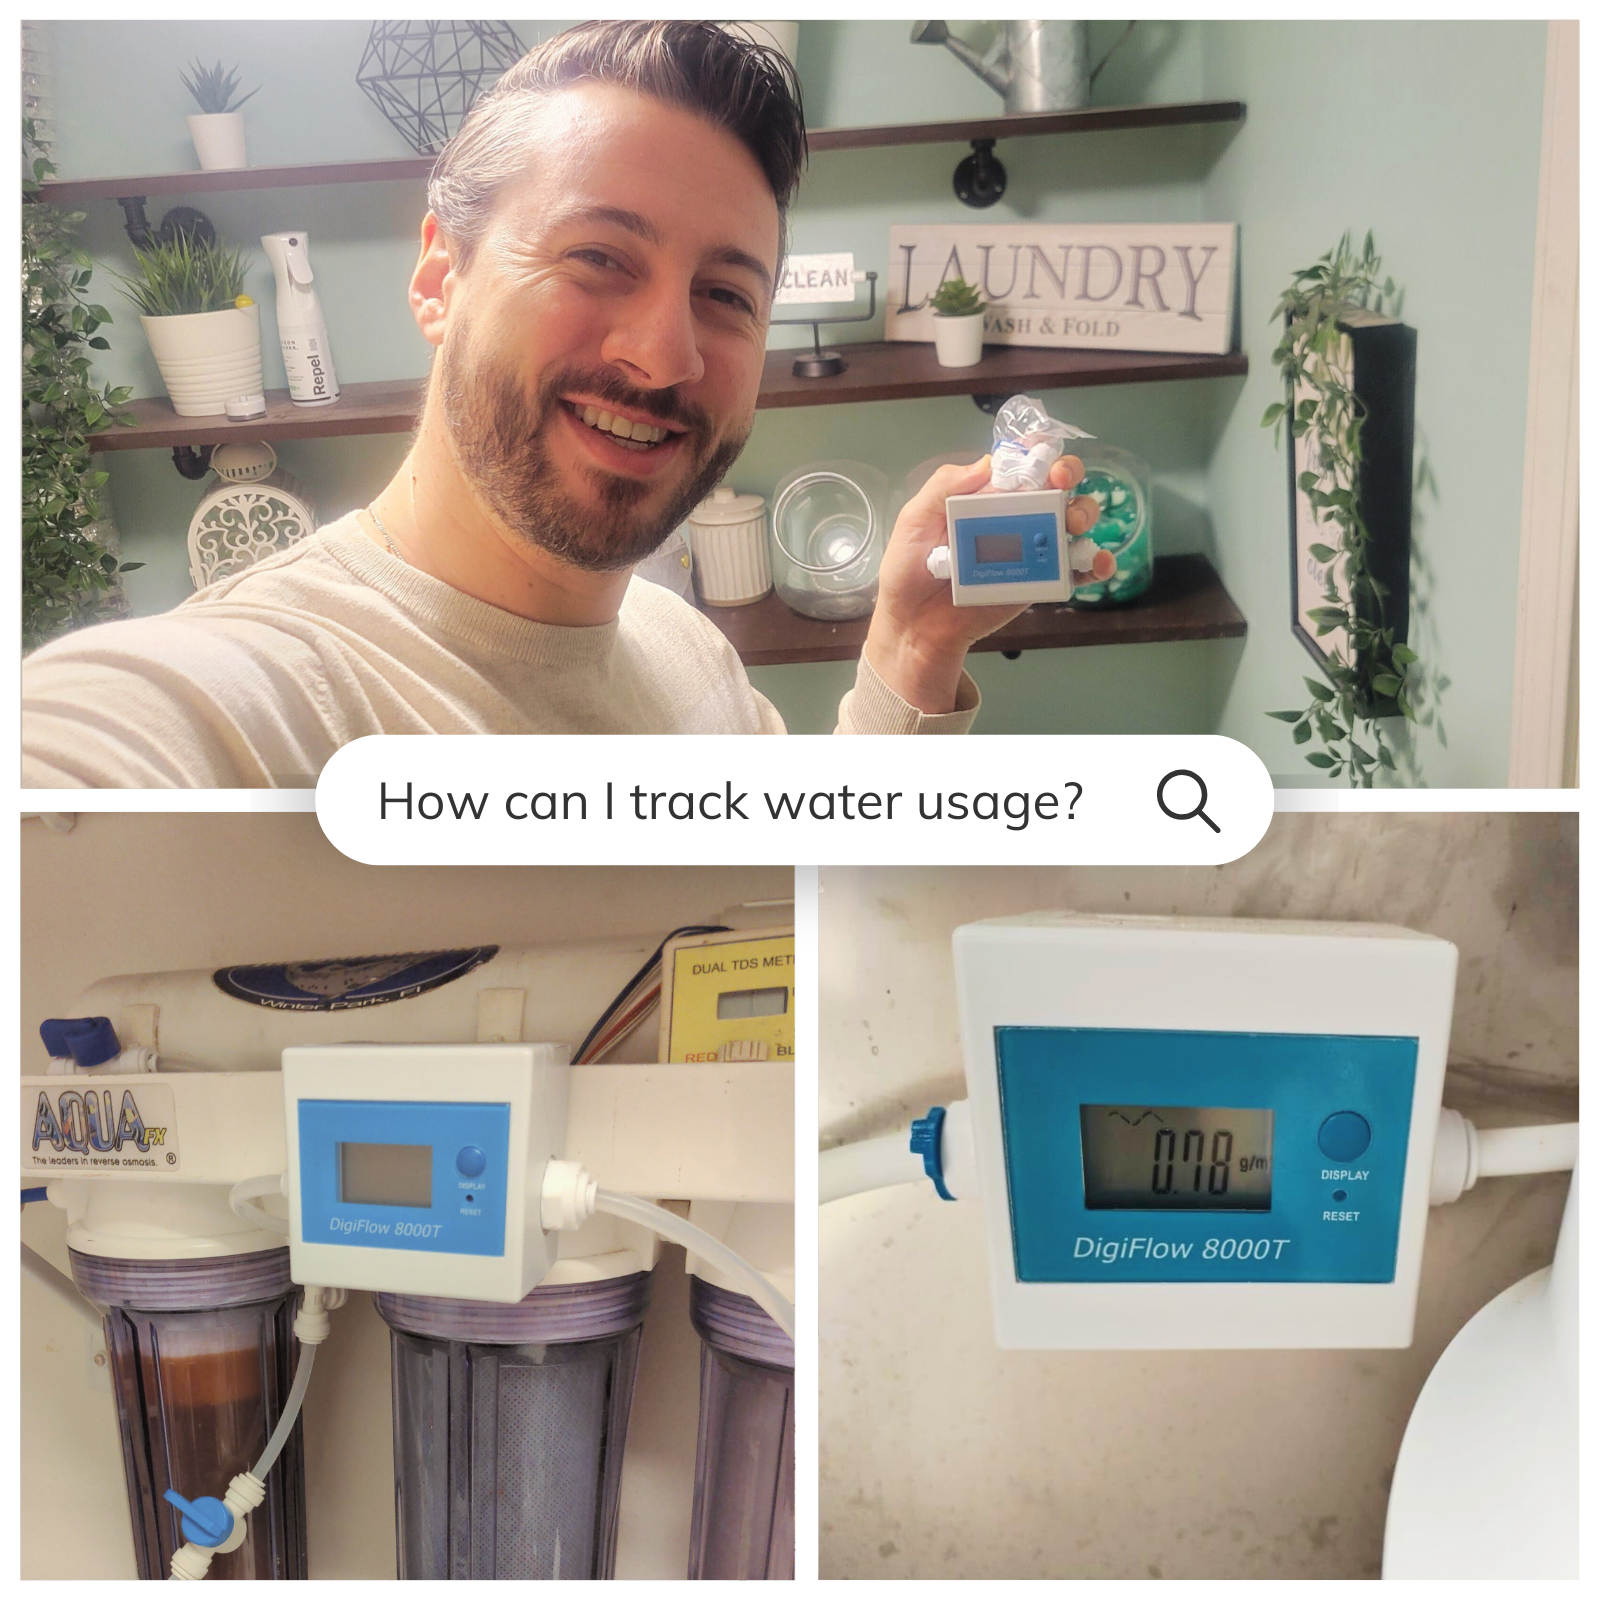
Install Your Flow Meter Like a Pro: Simple Instructions for Every Home