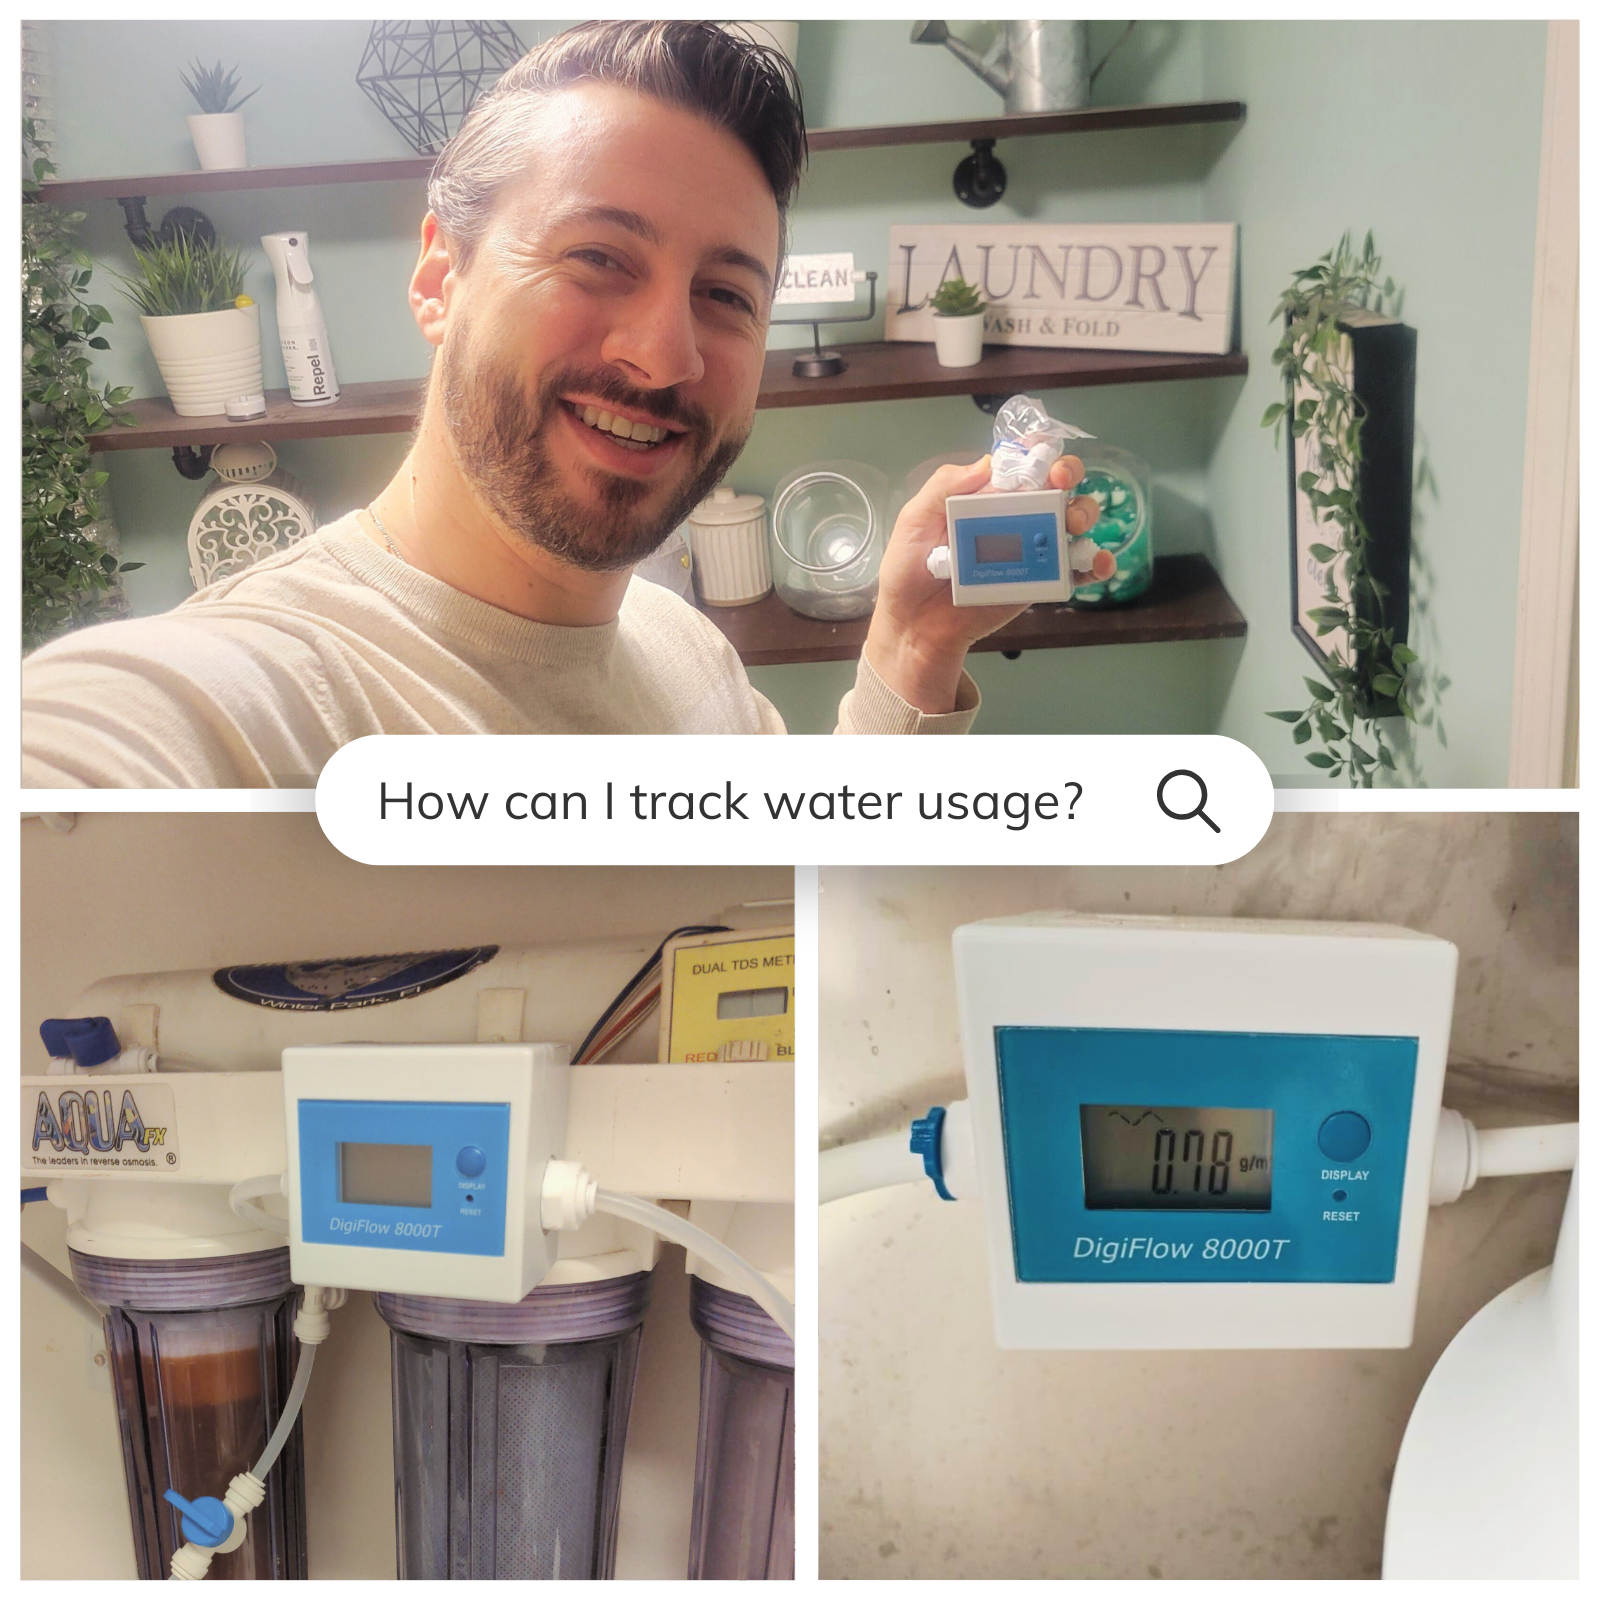
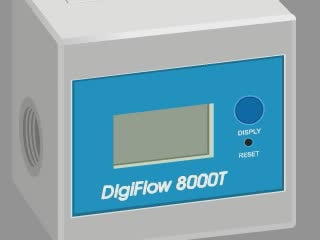


Want an easier way to track your water usage? The IDENTER 8000T Flow Meter takes the hassle out of monitoring by automatically measuring every drop—no need for constant supervision. Let us guide you through the simple installation process!
Installation Steps
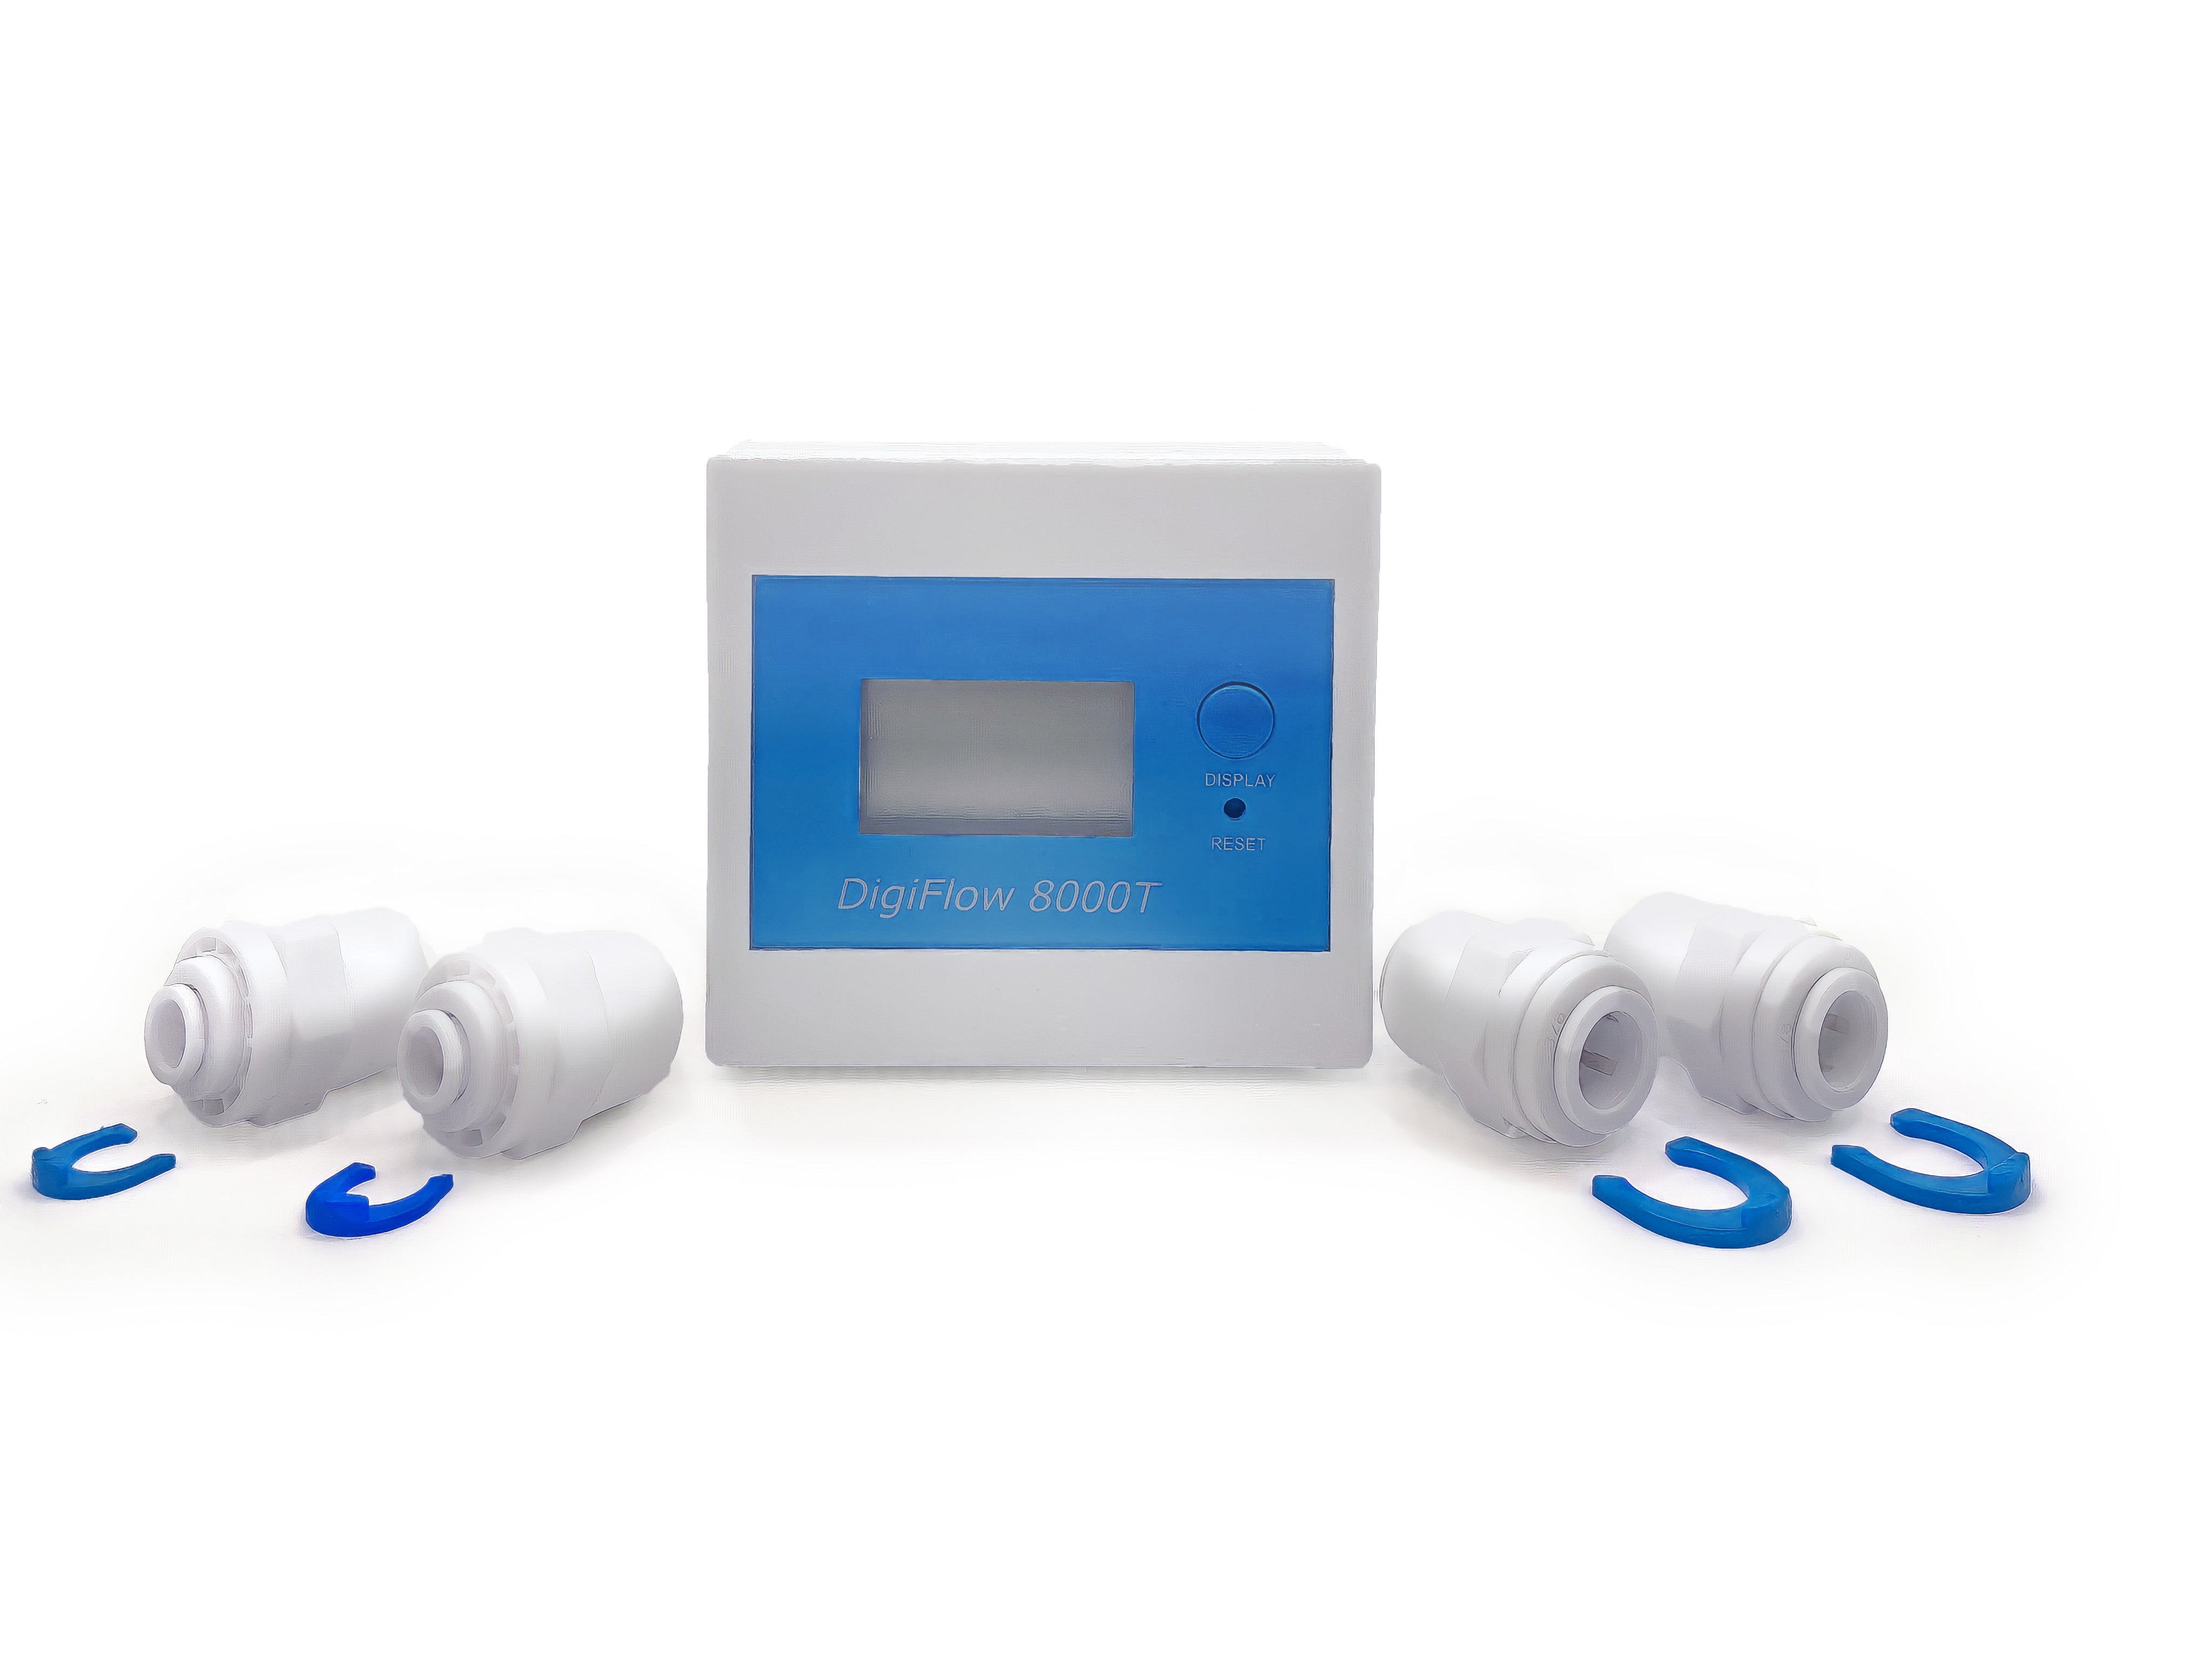
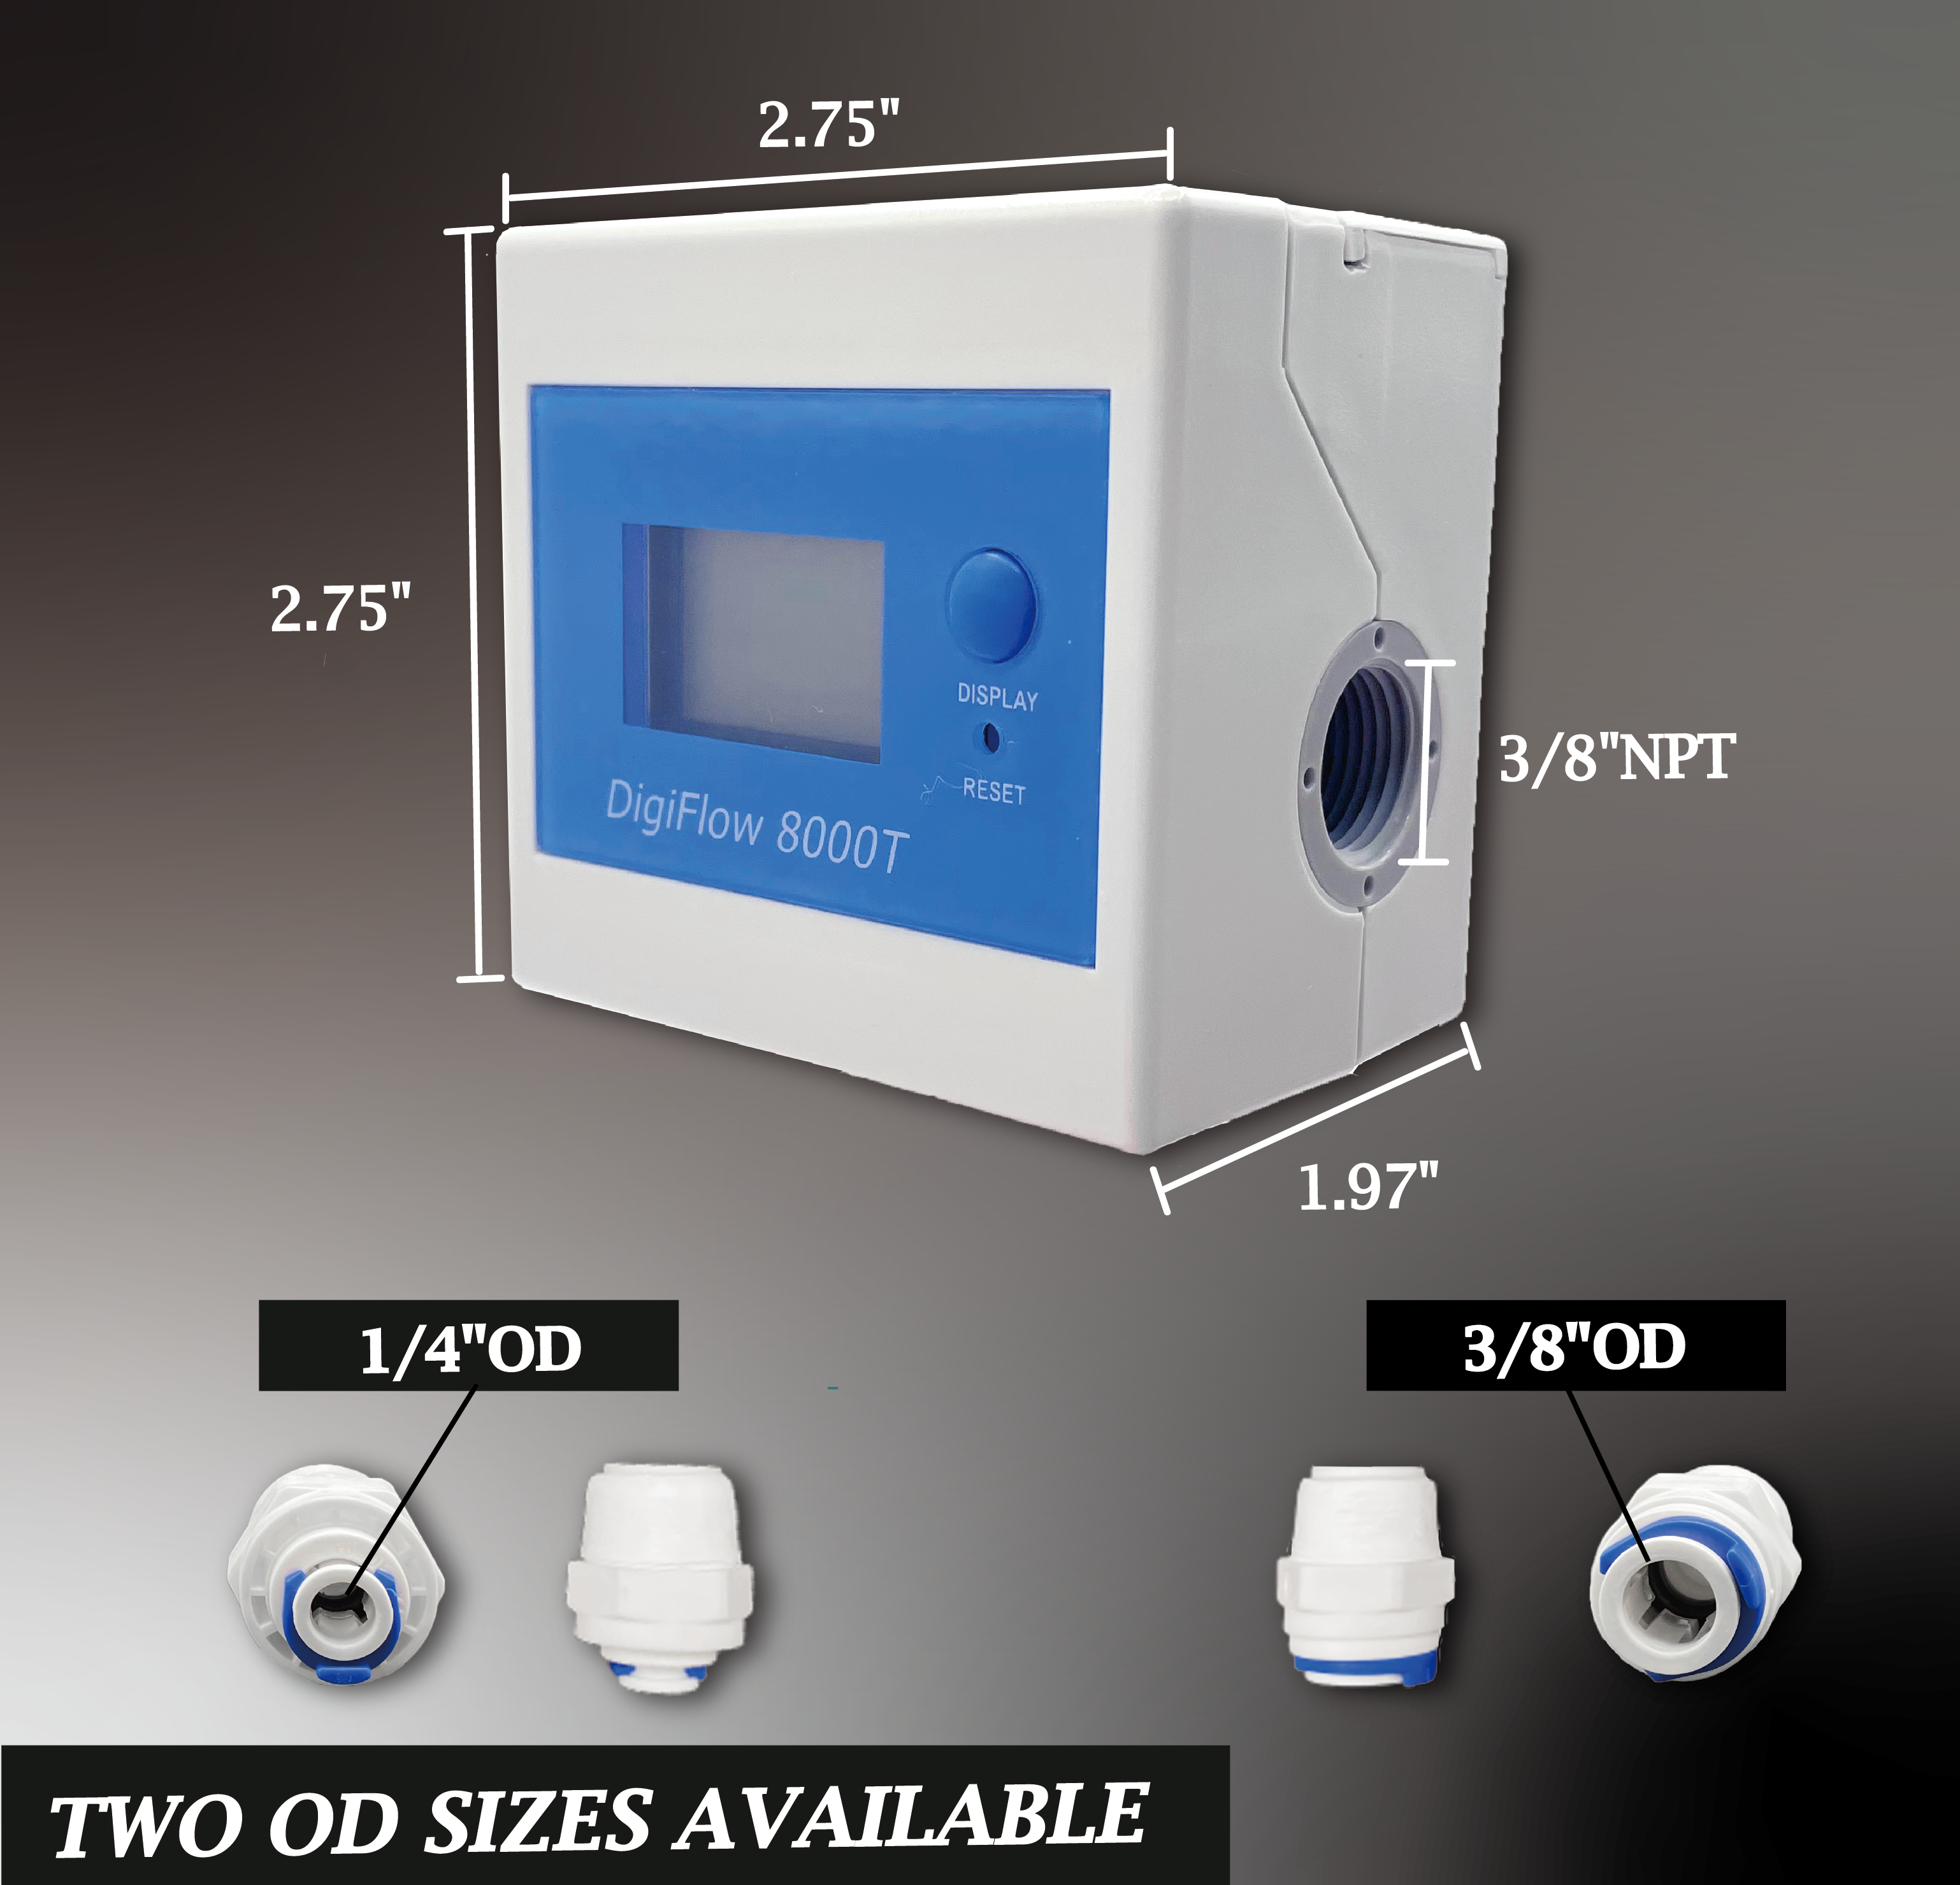
Step 1: Gather Your Tools and Accessories
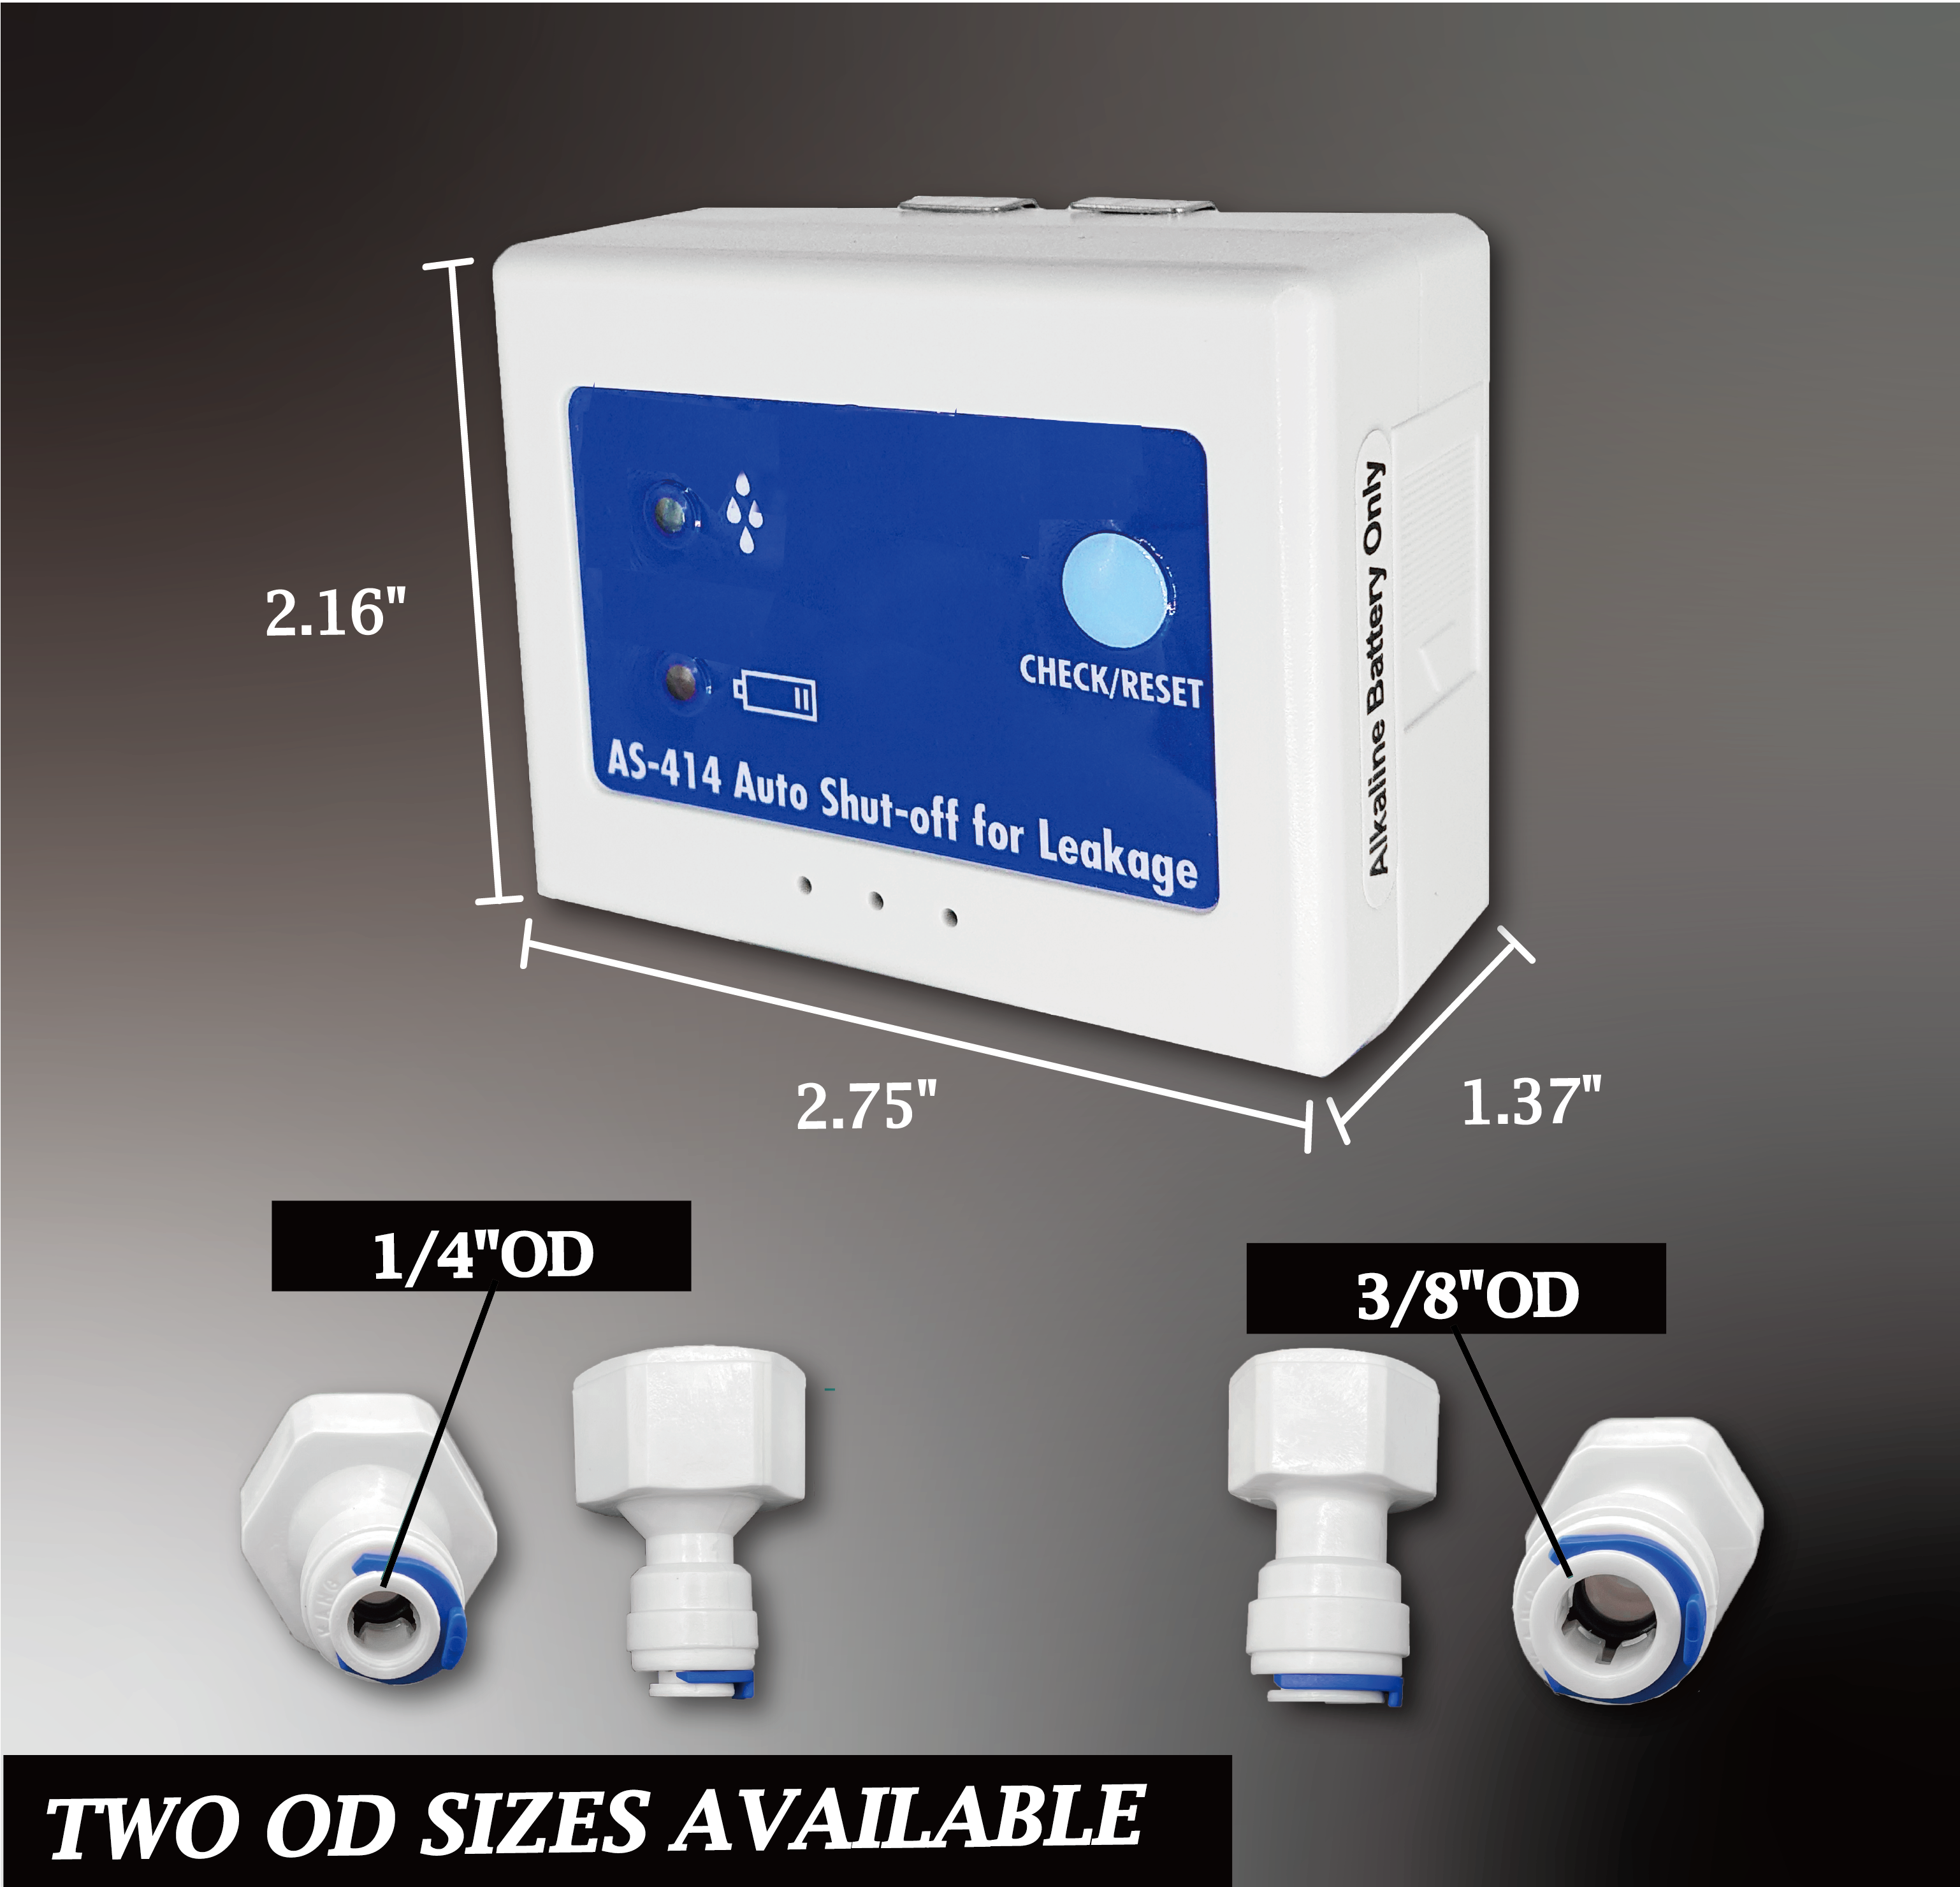
Start by unboxing your 8000T Flow Meter. Ensure you have the two AAA batteries included in the box, and select the quick-fitting connectors (1/4" OD-3/8" NPT or 3/8" OD-3/8" NPT) that match your water system. Teflon tape is also provided to ensure leak-free connections.
Step 2: Install the Batteries
To power up your flow meter, slide off the battery cover, insert two AAA batteries (pay attention to the polarity), and securely replace the cover.
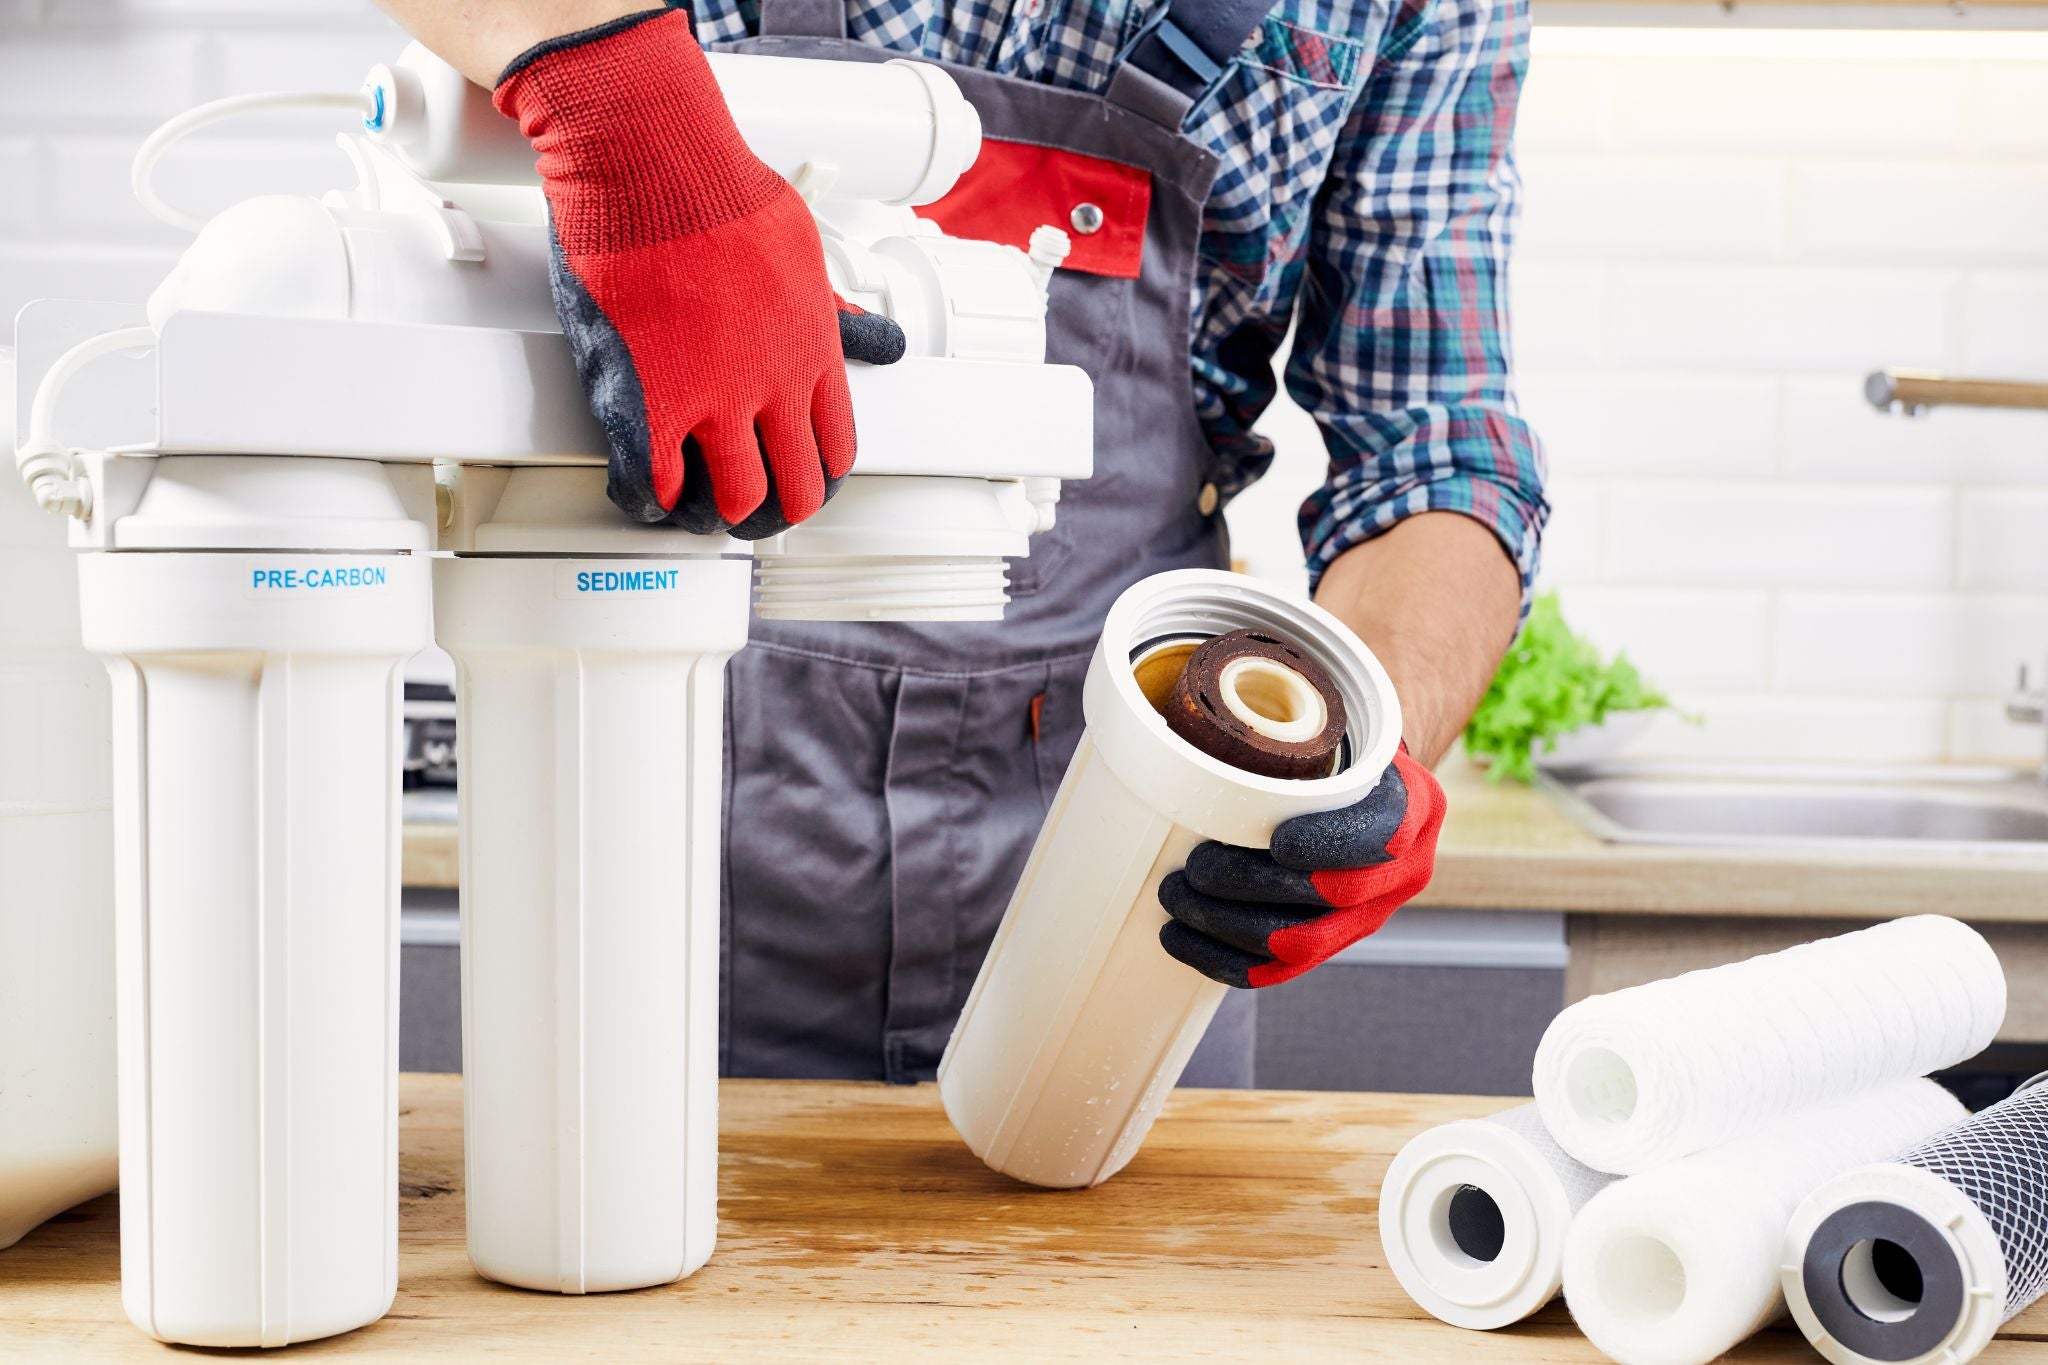
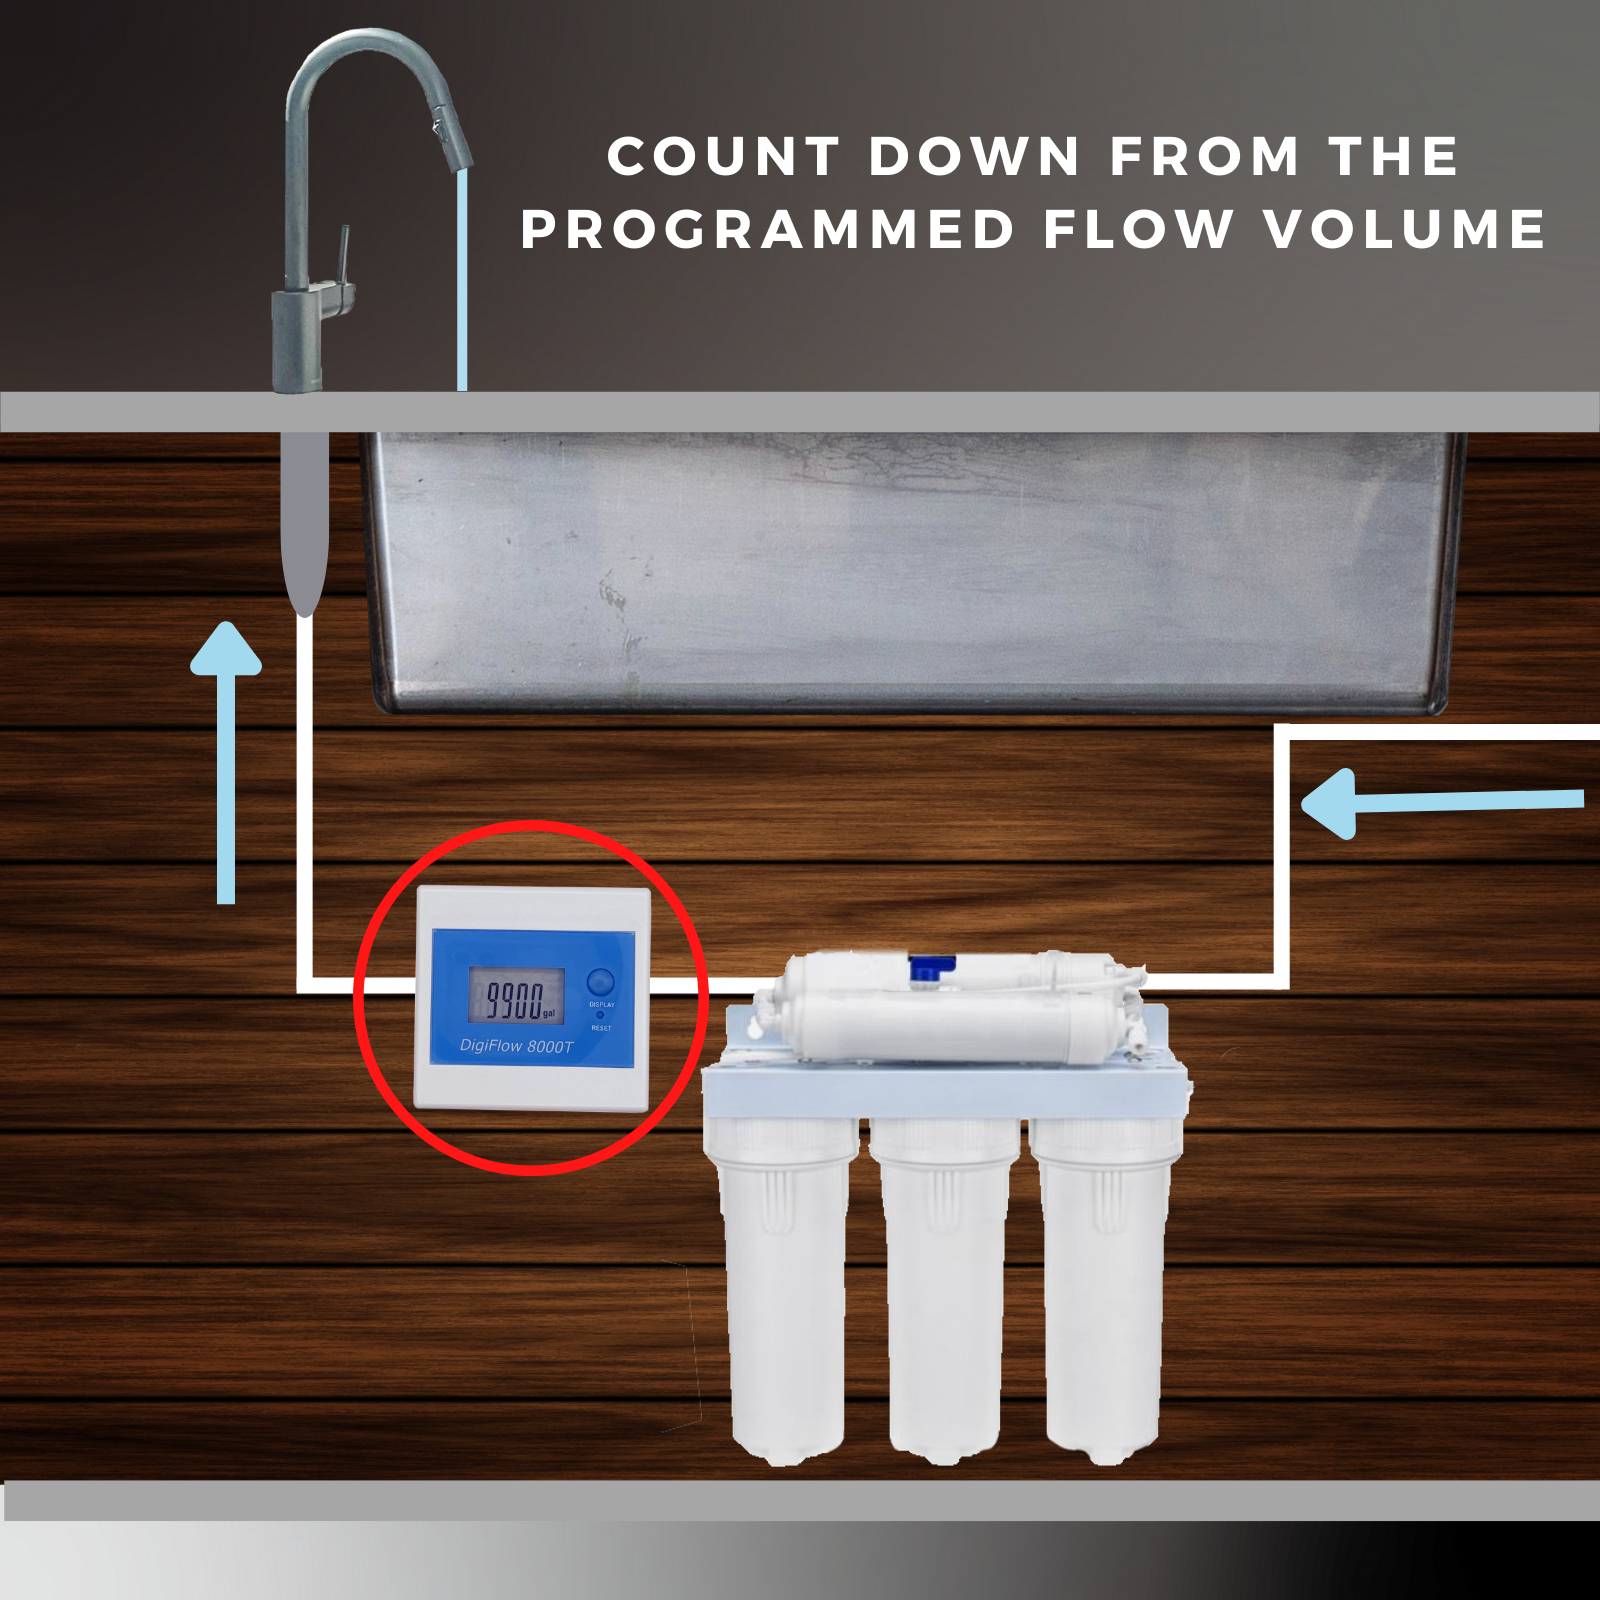
Step 3: Install the Flow Meter
Locate the proper installation point for the flow meter:
- For reverse osmosis (RO) systems, install it after the pressure tank.
- For other water systems, install it before the faucet or the outlet of the water purifier.
Wrap Teflon tape around the threaded connectors, and attach the flow meter to your water line using the appropriate quick-fitting connectors. Cut the pipe ends cleanly and squarely before inserting them into the fittings. Push the pipes firmly through the O-rings until they bottom out, then secure them with the snap ring. Give each pipe a slight tug to ensure it’s seated properly.
Step 4: Set Filter Capacity and Elapse Time
Press and hold the DISPLAY button, then press and release the RESET button. The screen will flash to indicate setup mode. Use the DISPLAY button to adjust the filter capacity to match your filter’s specifications (options range from 500 to 99,500 liters). Press RESET to save.
Repeat the process to set the time for the filter’s lifespan, with options ranging from 30 to 720 days. Save your settings by pressing RESET again.
Step 5: Test the Installation
Turn on the water supply. The flow meter will power on automatically when water flows and will shut off 10 seconds after the flow stops.
Check for any leaks and tighten any loose connections as needed. For RO systems, allow water to flow for 3–5 minutes to flush the system and remove air bubbles before use.
Step 6: Monitor Alerts
- Near-End Alert: The screen flashes and beeps once when capacity falls below 100 liters or time drops below 7 days.
- End-of-Life Alert: Two beeps and flashing indicate the filter has reached 0 liters or days.
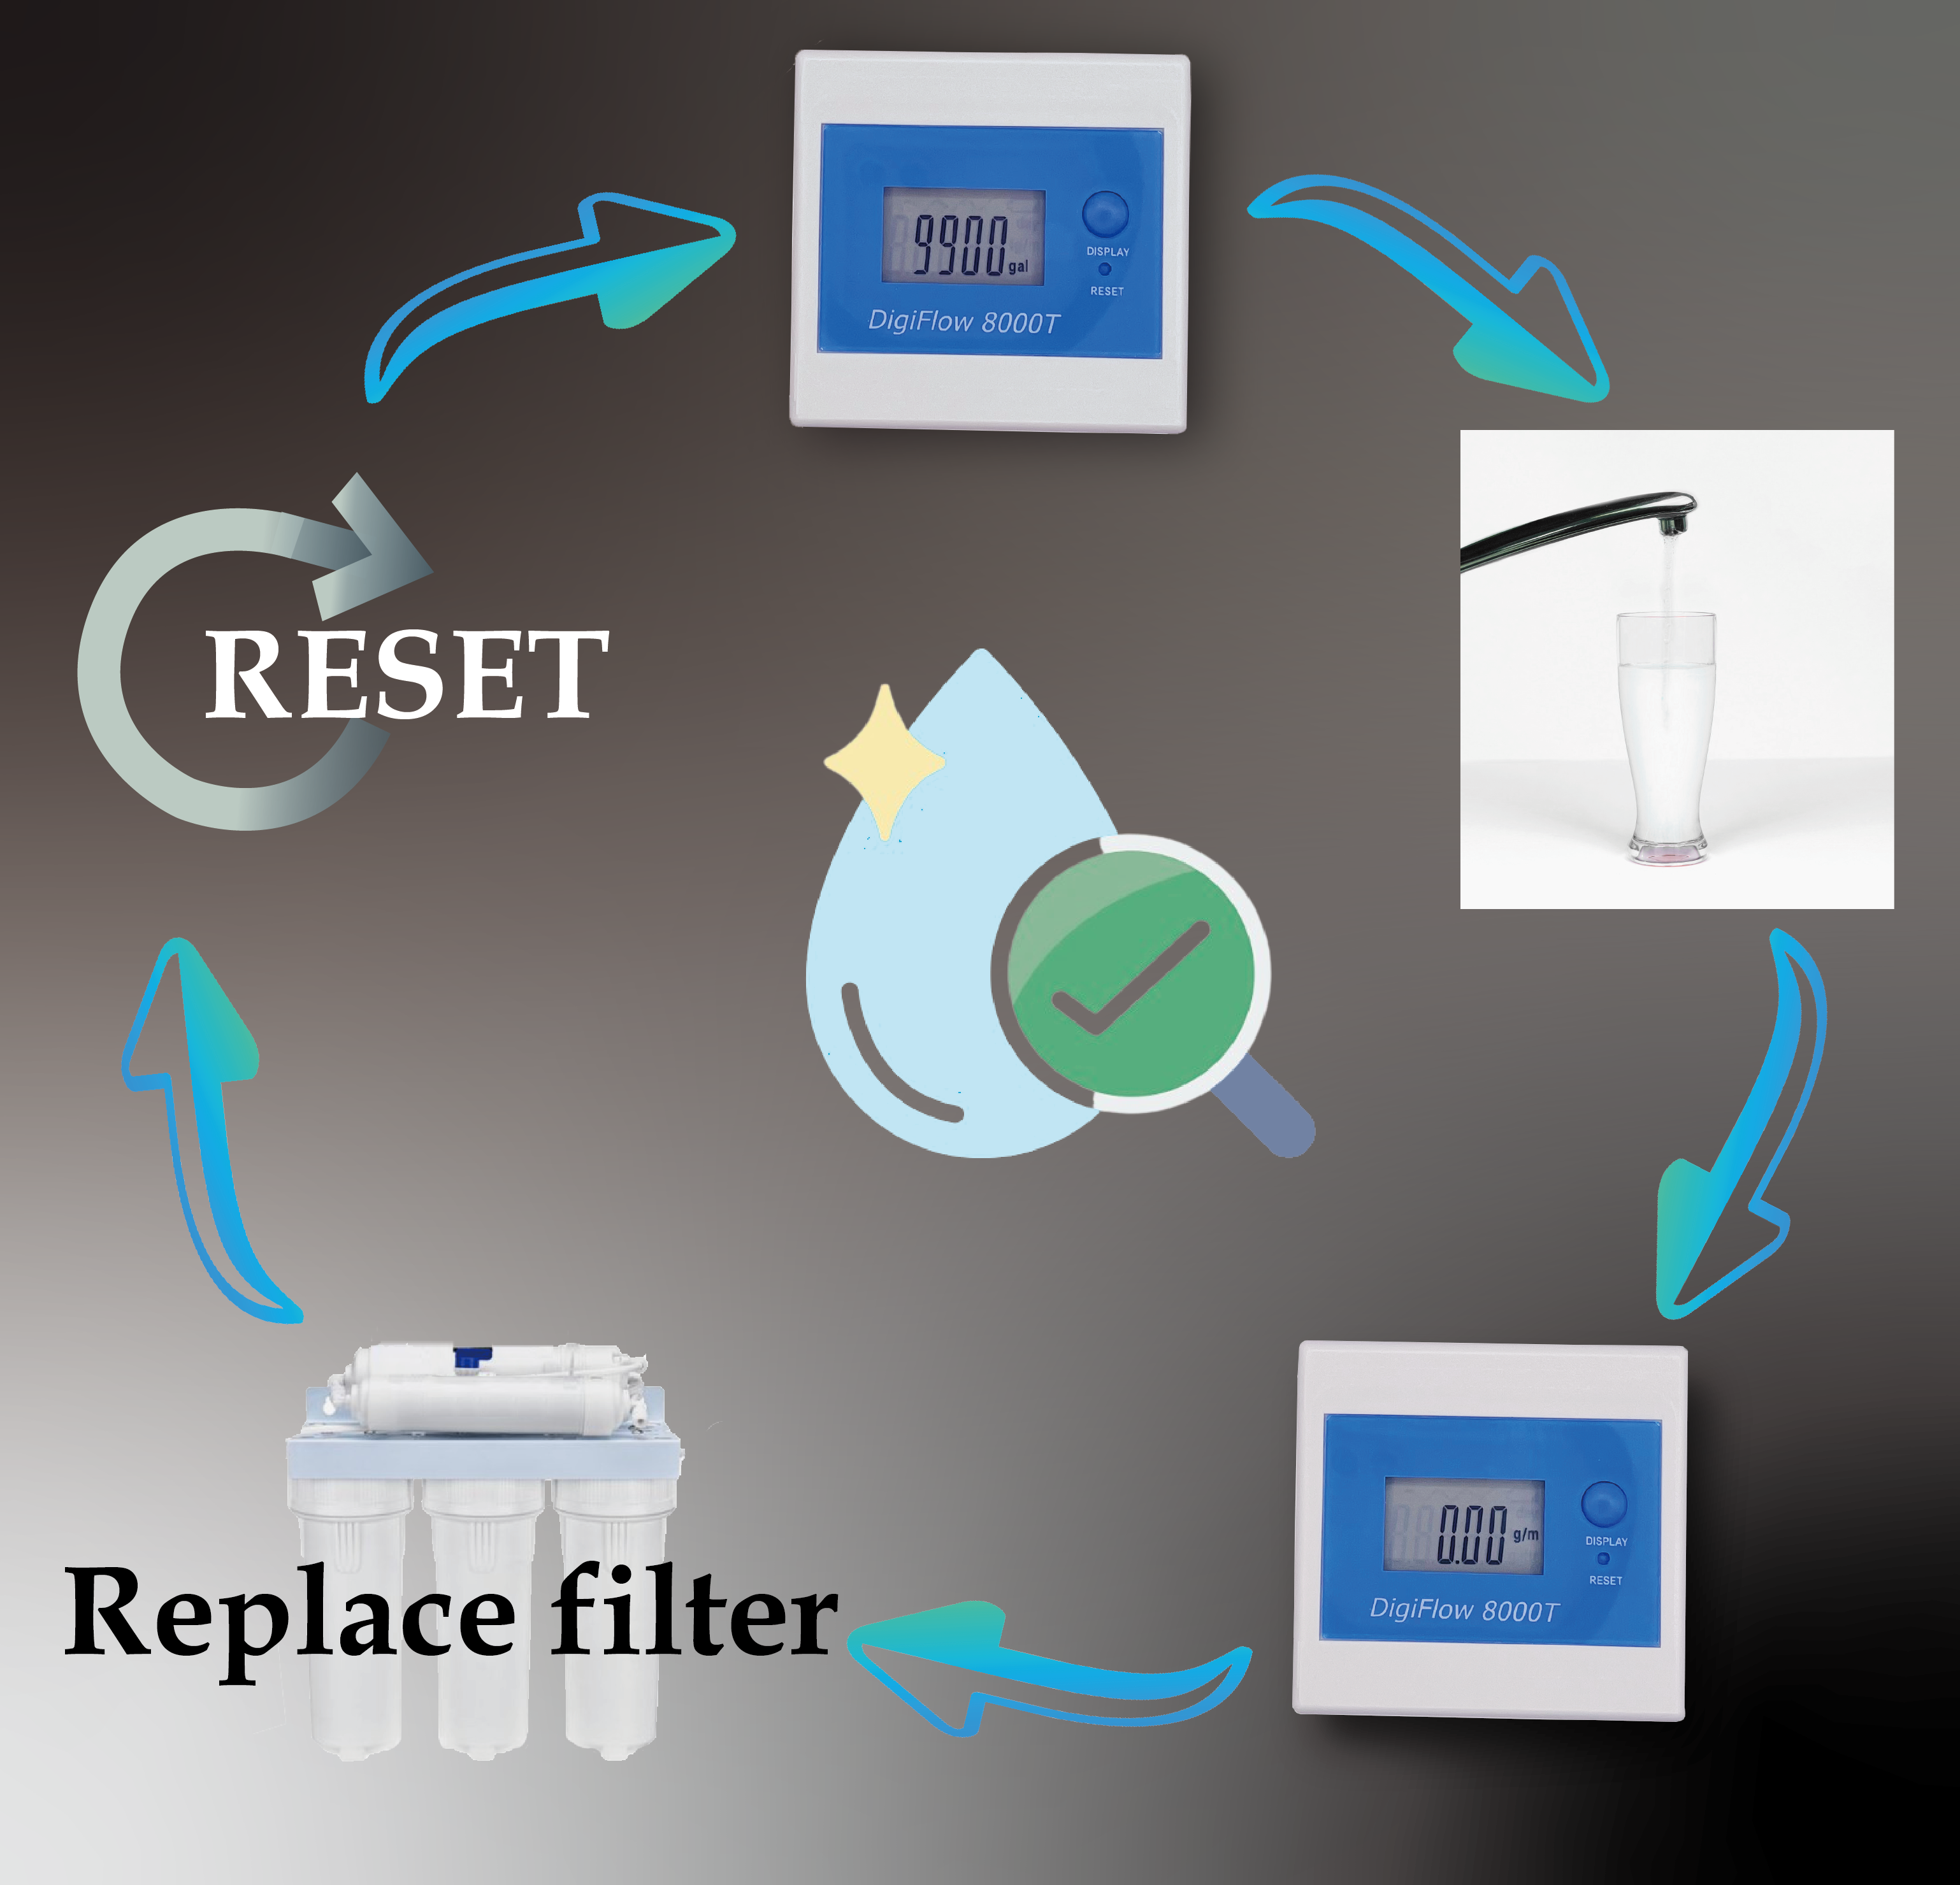
Step 7: Reset After Filter Replacement
After replacing the filter, press RESET to restart monitoring. The flow meter will reset to the original filter capacity and time settings.
How the Flow Meter Works
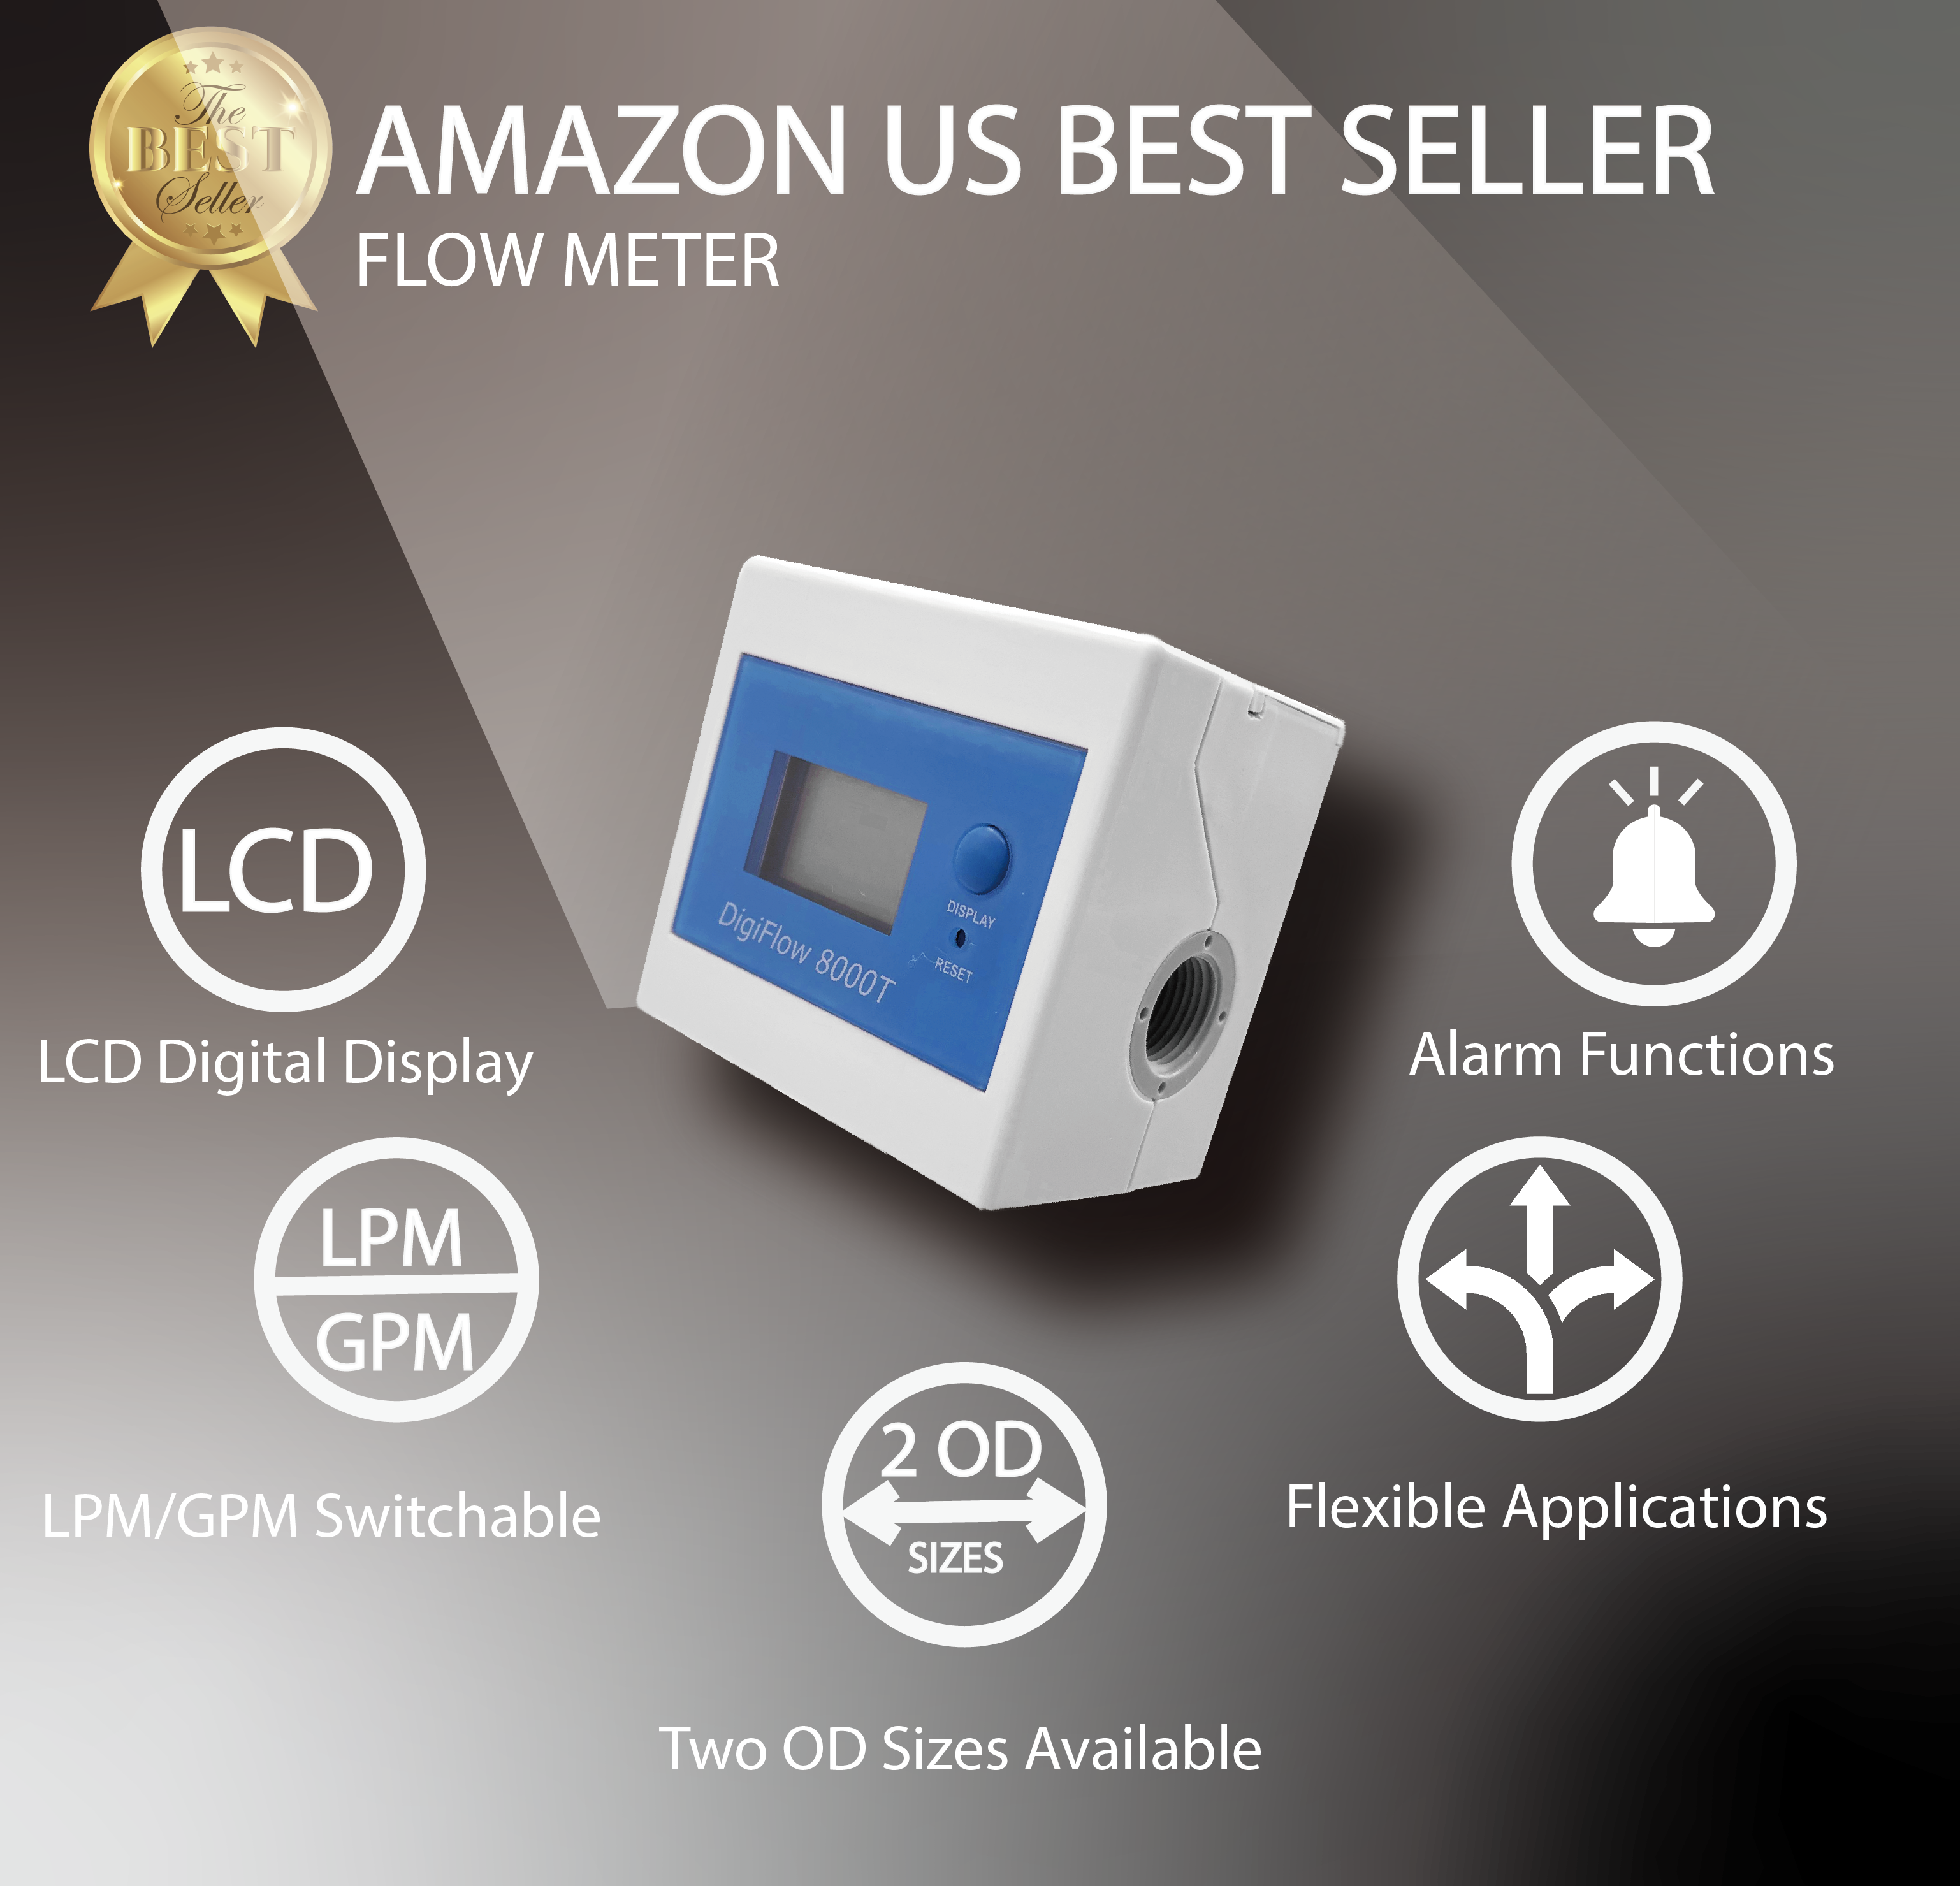
The 8000T flow meter is packed with features to make tracking your water filter's performance simple:
- Automatic Activation: The meter powers on whenever water flows and shuts off 10 seconds after the flow stops.
- Real-Time Monitoring: Press the DISPLAY button to view remaining filter capacity, time left before replacement, or the real-time water flow rate.
- Low Battery Alert: The screen flashes a battery icon, and the device beeps when batteries are low. Once replaced, your settings and data are preserved.
Caution
-
Correct Positioning: Install the flow meter in the correct position.
- After the pressure tank for RO systems.
- Before the faucet or water purifier outlet for other systems.
-
Minimum Flow Rate: Make sure the minimum flow rate is at least 0.3 gallons/minute.
-
Environmental Conditions: Avoid exposing the flow meter to extreme temperatures (below 32°F or above 104°F) or pressure above 116 psi.
The IDENTER flow meter makes monitoring your water usage and filter performance easy, saving you the guesswork and helping you maintain clean, safe water. If you have any questions or need assistance, our user manual and friendly support team are here to help.
Take the next step toward smart water management today!


Share:
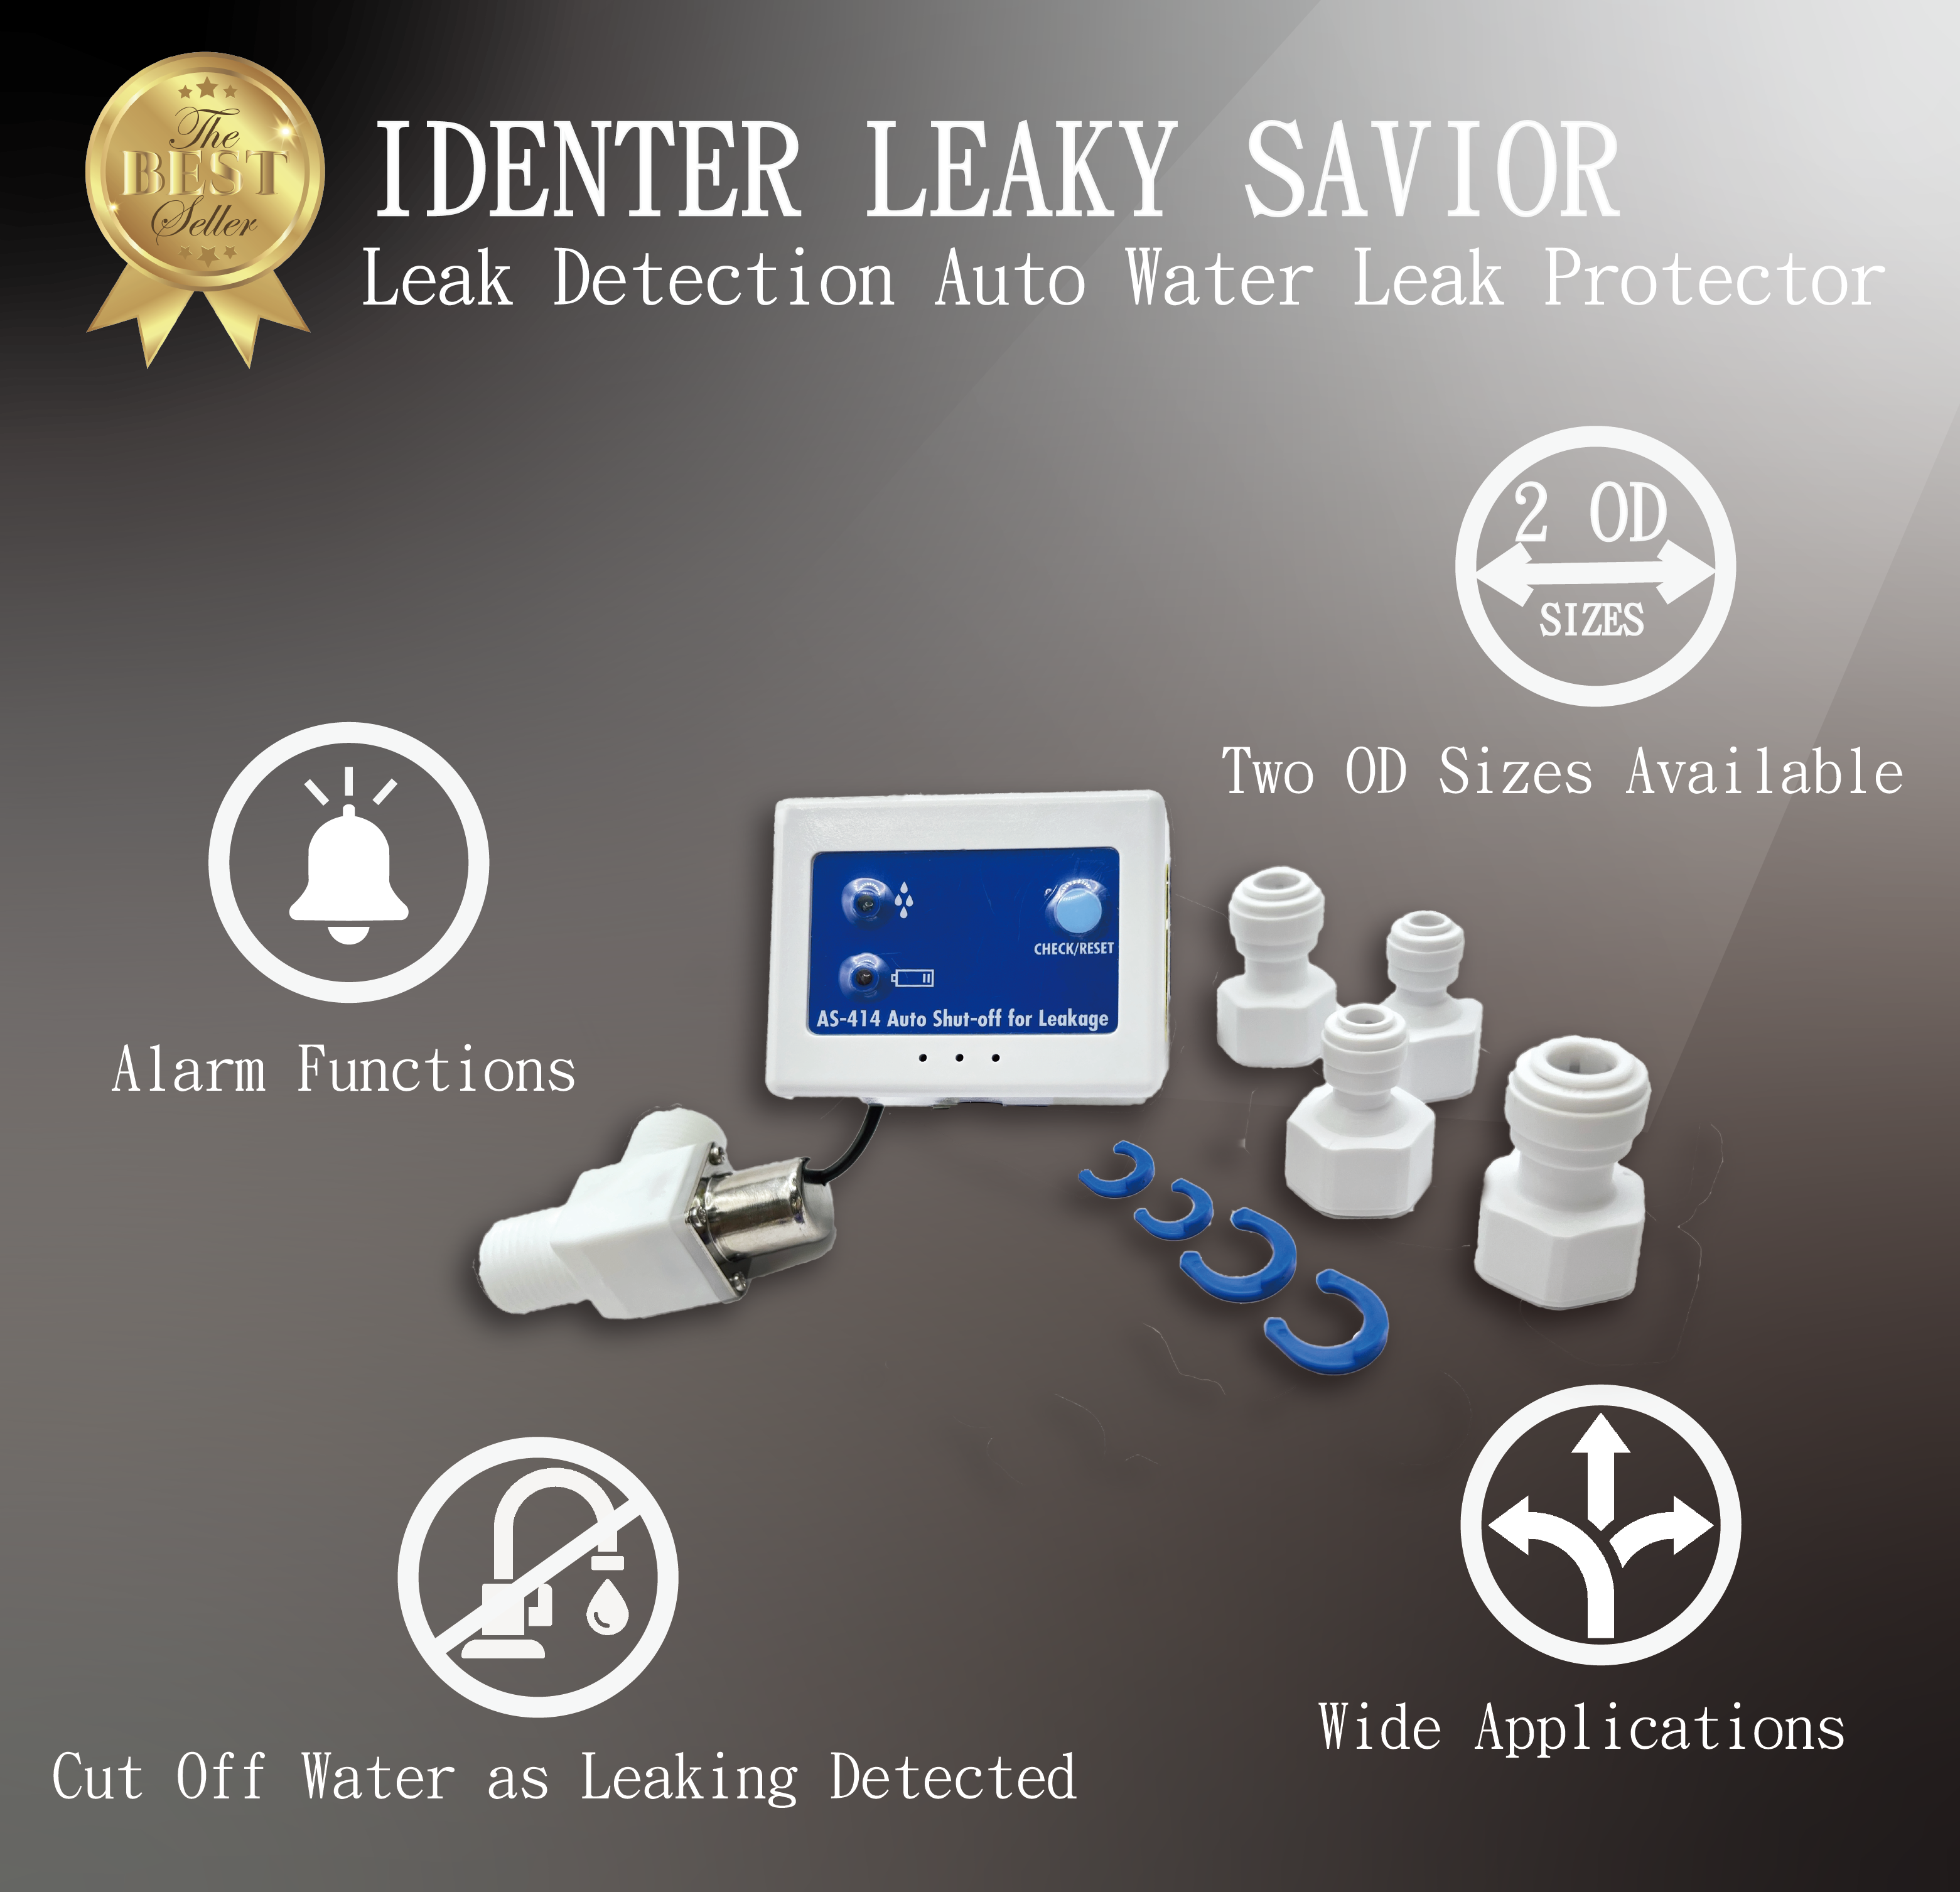
How to Install a Leak Detector: A Complete Walkthrough by IDENTER